
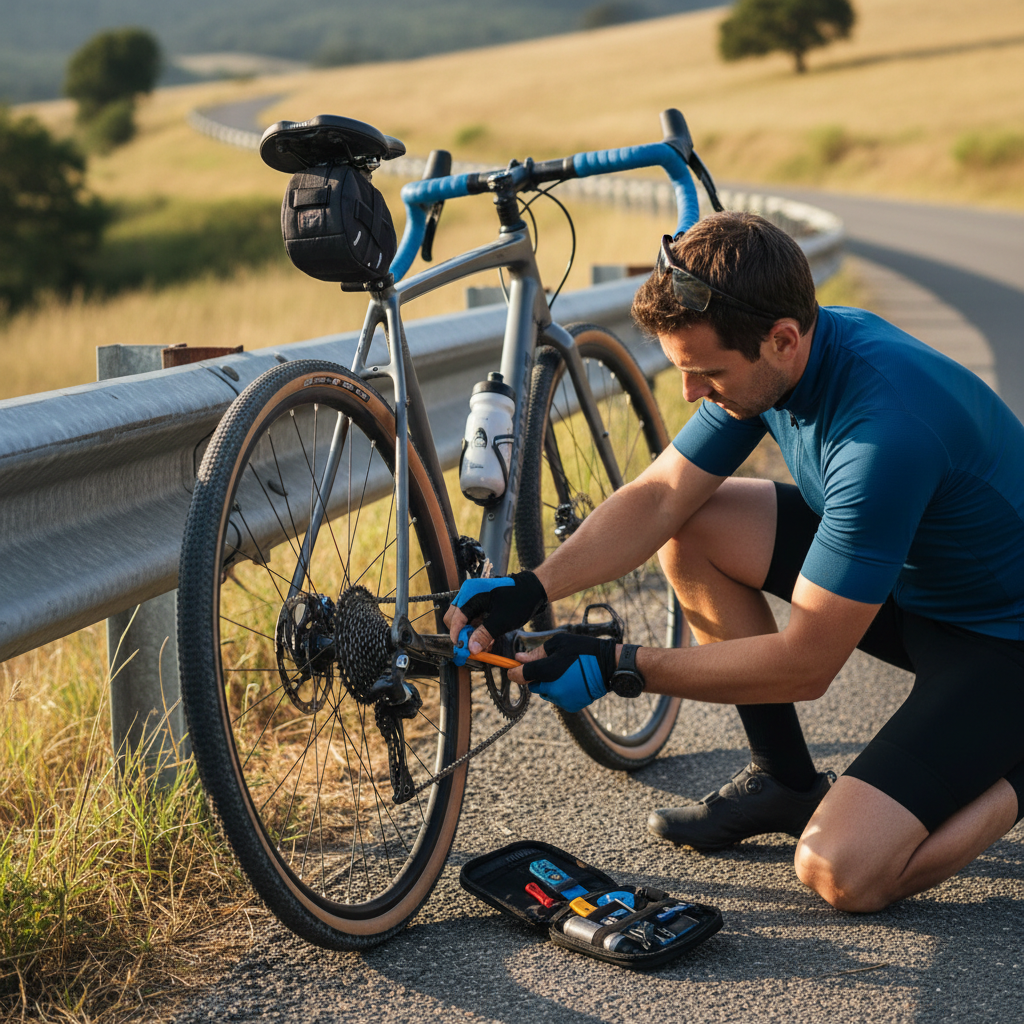
Best bike tire repair kit portable usually means one thing in real life: you want something small enough to forget about, but complete enough to get you rolling again when a flat happens far from home.
If you have ever stood on the shoulder with a tire half-off and sweaty hands, you already know the pain, most “kits” are either too bare-bones to work, or so bulky they stay in a drawer. The right portable kit hits a practical middle, and it matches your tire type: tube, tubeless, or both.
This guide breaks down what actually matters, what a good kit contains, and how to choose based on how and where you ride. I’ll also share a quick decision checklist, a comparison table, and a few repair steps that tend to save people time.
What “portable” really means for a bike tire repair kit
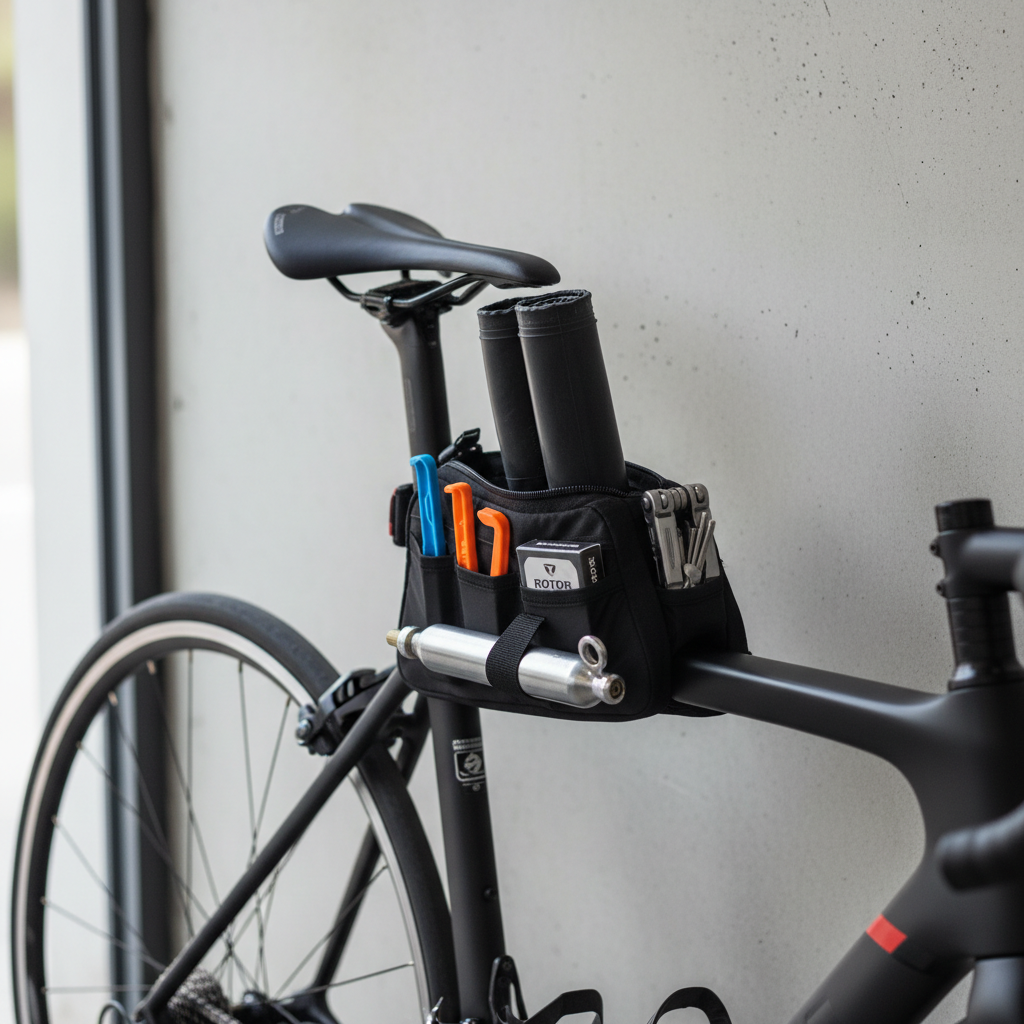
Portable is less about weight on a spec sheet and more about whether you’ll carry it every ride. In the U.S., a lot of riders end up splitting gear between a saddle bag, frame strap, jersey pocket, or a small handlebar roll.
In practice, a portable kit should cover your most likely flat scenarios with minimal extras. If you ride mixed surfaces, that often means a kit that can handle both a small puncture and a bigger cut that needs a boot or plug.
- Road riders often prioritize speed: tube swap, CO2, quick lever access.
- Gravel riders need flexibility: tubeless plugs plus a “plan B” tube.
- MTB riders usually want strong plugs, a valve tool, and something that seats tires reliably.
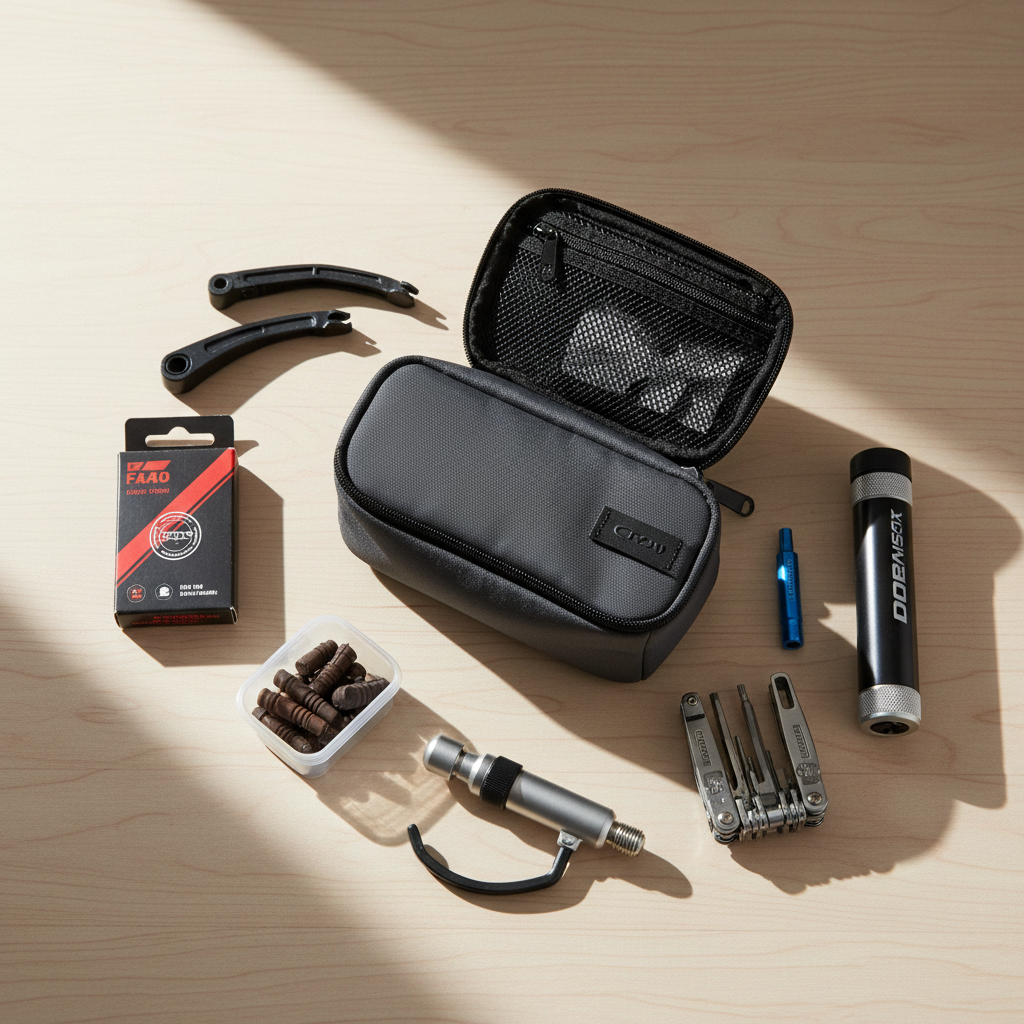
Key parts to look for (and what each one does)
Most disappointment comes from kits that skip one “small” component that turns out to be the whole job. Here’s what tends to matter, with plain-English roles.
Tube-focused essentials
- Tire levers: helps remove the tire without wrecking your hands, look for sturdy composite levers.
- Patches + vulcanizing glue: reliable for small punctures, glue-based patches usually hold better than peel-and-stick in many conditions.
- Spare tube: often the fastest fix, patches become your backup.
- Inflation: CO2 is fast, a mini pump is slower but repeatable, many riders carry both.
Tubeless-focused essentials
- Plug tool + plugs (worms/strips): seals common punctures without removing the tire.
- Valve core tool: lets you remove a clogged core, or add sealant more easily.
- Small sealant bottle: optional, but helpful if you burp sealant or ride in thorn-heavy areas.
- Tire boot: a thin, tough patch you place inside the tire for sidewall cuts.
According to Park Tool... most flat repairs come down to either replacing the tube, patching the puncture, or addressing the cause inside the tire, so having the right removal and inspection tools matters as much as the patch itself.
Quick comparison table: choose the right kit style
If you want the best bike tire repair kit portable for your riding, start by matching the kit style to the failure you’re most likely to see.
| Kit style | Best for | Pros | Watch-outs |
|---|---|---|---|
| Tube-only patch kit | Road/commuting with tubes | Small, cheap, reliable | Still need a way to inflate, glue can dry out |
| “Tube swap” kit (tube + levers + CO2) | Fast roadside fixes | Quickest return to riding | CO2 is one-and-done, tube must match size/valve |
| Tubeless plug kit | Gravel/MTB tubeless punctures | No tire removal, often under 2 minutes | Sidewall cuts may still require a boot or tube |
| Hybrid kit (plugs + patches + core tool) | Mixed setups, longer rides | Most versatile | Easy to overpack, choose compact pieces |
Self-check: which portable kit do you actually need?
This is the part many people skip, then buy a kit that “should” work but doesn’t fit their setup. Run this quick checklist and be honest.
- Are you running tubeless today? If yes, plugs and a core tool move to the top of the list.
- How far from help do you ride? The farther you go, the more your “plan B” matters, often a tube even on tubeless.
- Do you regularly get sidewall cuts? Add a tire boot, not just patches or plugs.
- Can you reseat your tire without a compressor? If not, carry a mini pump and be cautious with relying only on CO2.
- Do you know your valve type and length? Presta vs Schrader still trips people up, especially on borrowed pumps.
Key point: if you want the best bike tire repair kit portable, it has to match your tire system more than your bike brand, and it has to fit where you’ll carry it.
Practical packing list (3 proven loadouts)
Instead of “one kit for everyone,” here are three loadouts that tend to cover real rides without turning your bag into a toolbox.
Loadout A: Road tube rider (short to medium rides)
- 1 spare tube (correct size + valve)
- 2 tire levers
- CO2 inflator + 1–2 cartridges or mini pump
- 1 small patch kit (backup)
Loadout B: Gravel tubeless (most “do everything” setup)
- Tubeless plug tool + plugs
- Valve core tool + 1 spare core
- Mini pump (many riders still add CO2 for speed)
- 1 emergency tube + 2 levers
- 1 tire boot
Loadout C: MTB tubeless (technical trails)
- Plug kit with thicker plugs
- Mini pump with decent volume
- Valve core tool, spare core
- Boot + a small amount of sealant (optional)
- Multitool (because the flat sometimes isn’t the only issue)
How to use the kit: fast steps that prevent “second flats”
You can carry the best bike tire repair kit portable and still lose time if you miss the real cause, a tiny piece of glass, a thorn, a pinched tube. This is the quickest workflow that avoids that loop.
If you run tubes
- Find the culprit: check tire tread and sidewalls, then carefully sweep inside the tire with your fingers.
- Swap tube first: it’s often faster than patching roadside, save patching for at home or as backup.
- Inflate gradually: add a little air, make sure the tube is not pinched under the bead, then inflate fully.
If you run tubeless
- Try sealant first: rotate the puncture down, give sealant a chance to pool and seal.
- Plug the hole: insert plug, pull out tool, trim if needed, then reinflate.
- Know when to stop: if the cut is large or on the sidewall, plan on a boot and tube to get home.
According to REI... having a basic repair kit and knowing how to fix a flat are core skills for safer, more self-sufficient riding, especially when you’re away from easy help.
Common mistakes (and how to avoid wasting your kit)
A lot of flat-fix failures aren’t “bad gear,” they’re small errors under stress. These are the repeat offenders.
- Not removing the glass/thorn: you replace the tube, roll 200 yards, and puncture again.
- Using CO2 only: you burn both cartridges fighting a stubborn bead, then you’re stuck, consider carrying a mini pump on longer rides.
- Peel-and-stick patch expectations: they can work, but adhesion often depends on prep, temperature, and tube material, glue patches remain a safer bet for many riders.
- Plugging a sidewall like it’s a tread puncture: sometimes it holds briefly, sometimes it doesn’t, a boot and tube can be the more dependable exit strategy.
- Carrying the wrong tube: wrong valve, wrong size range, or too short valve for deep rims, check before you pack.
When it’s worth getting help or changing your setup
If flats happen constantly, the repair kit becomes a band-aid. In many cases, a few setup changes reduce punctures more than buying a fancier pouch.
- Frequent pinch flats: you may be running pressure too low for your weight and tire volume, if you’re unsure, a local bike shop can suggest a safer range.
- Recurring punctures in the same area: inspect the tire casing, some tires pick up embedded debris that keeps working its way through.
- Sidewall damage: consider replacing the tire, a compromised casing can be a safety risk, especially at higher speeds.
- Unsure about tubeless sealant, rim tape, or seating: it’s reasonable to ask a mechanic, tubeless mistakes can create frustrating leaks that are hard to diagnose roadside.
According to PeopleForBikes... basic bike safety and maintenance practices support safer riding, and when you’re not confident in a repair, getting help is a sensible choice rather than forcing it.
Conclusion: picking the best portable kit without overthinking it
The best choice is the kit you will actually carry, and that reliably matches your tire system. For many U.S. riders, that means a compact hybrid setup: plugs and a core tool if you run tubeless, plus a realistic backup plan like a tube and levers when rides get longer or more remote.
If you want an easy next step, lay your current kit out on a table, compare it to the loadout that matches your riding, then do one practice flat at home. That one dry run often matters more than any extra gadget.
FAQ
- What is the best bike tire repair kit portable for commuting?
For most commutes, a tube swap setup works well: spare tube, levers, and a reliable inflator. Add a small patch kit as backup, since time and weather rarely cooperate. - Should a portable kit include both CO2 and a mini pump?
On longer rides, many riders carry both because CO2 is fast and a mini pump is repeatable. If you only carry one, a mini pump is usually the safer “I can always inflate” option. - Are tubeless plug kits enough by themselves?
Often, yes for typical tread punctures. For bigger cuts or sidewall damage, plugs may not hold, so a boot and emergency tube can prevent a long walk. - Do peel-and-stick patches actually work?
They can, especially for quick fixes, but results vary with surface prep and tube material. For a more dependable repair, glue-and-patch kits are still a common choice. - How do I know if I need a tire boot?
If you ride rocky terrain, encounter debris, or have had sidewall slices before, a boot is cheap insurance. It matters most when a cut is too large for a patch or plug to hold safely. - What’s the most overlooked tool in a repair kit?
A valve core tool is easy to skip, but it solves a surprising number of problems with tubeless setups and clogged or leaking valve cores. - How often should I replace items in my kit?
Check glue expiration and CO2 cartridges now and then, and replace used plugs and patches after a repair. If sealant is part of your kit, make sure the cap seals well to avoid mess.
If you’re building a more compact setup and want it to feel “grab-and-go,” start by choosing a small pouch that fits where you carry it, then pick components that cover your tire type and your most likely flat, that’s usually the difference between a kit you own and a kit you use.