
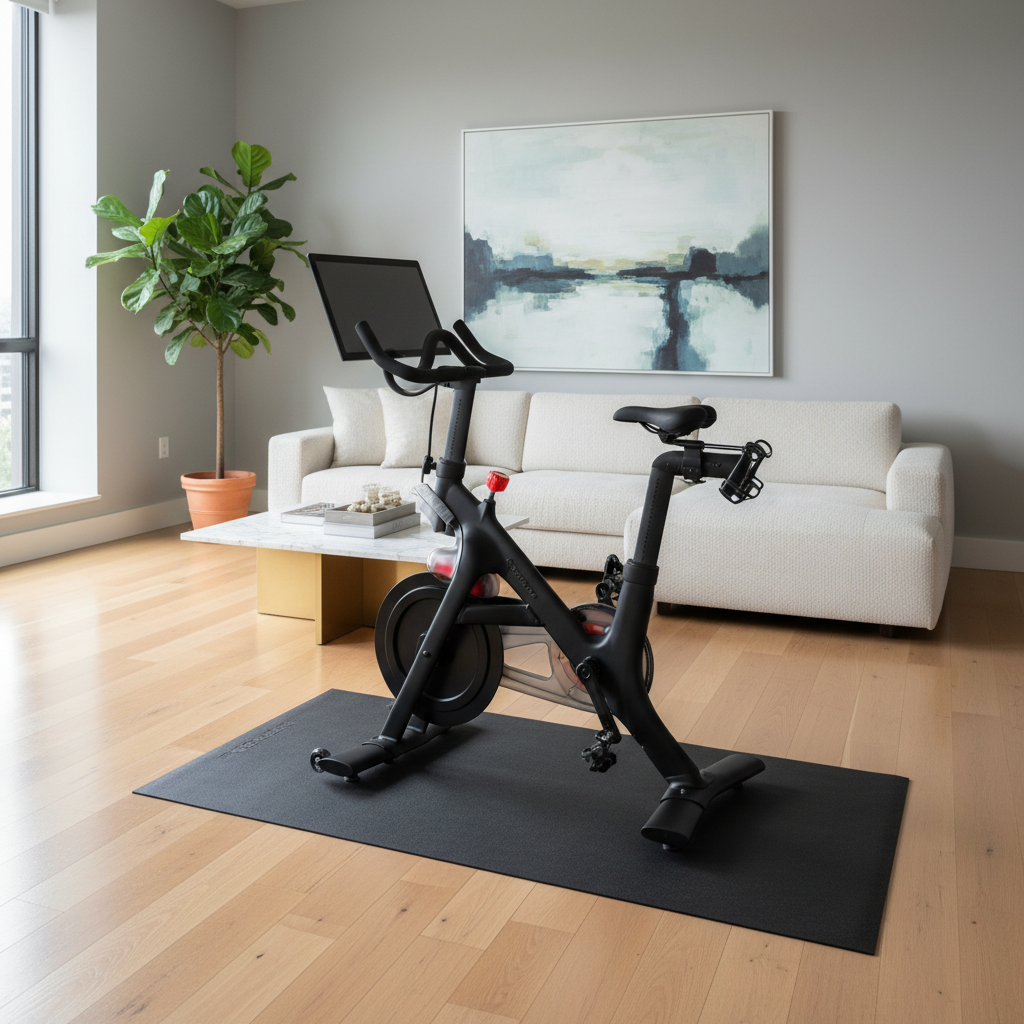
how to protect floor from exercise bike issues usually comes down to three things: pressure (the bike’s weight), movement (micro-sliding and rocking), and sweat or moisture that sneaks under the contact points.
If you rent, have newer hardwood, or live in an upstairs apartment, floor damage and noise complaints can show up faster than people expect, even with a “quiet” bike. A small wobble can leave scuffs, and concentrated weight can create dents, especially on softer wood or laminate.
This guide breaks down what actually causes marks and vibration, how to quickly assess your space, and what protection setup fits your floor type and workout style, without buying three different products you won’t use.
Why exercise bikes damage floors (and why it’s not just “weight”)
Most floors don’t get ruined by a single heavy object, they get worn by repeat stress in the same spots. With an exercise bike, a few patterns show up again and again.
- Point loading from small feet: Many bikes concentrate force on four small contact points, which can dent softwood and leave “compression marks” on vinyl and laminate.
- Micro-movement while you ride: Even a stable bike shifts slightly during sprints or out-of-saddle climbs, that friction can dull finish on hardwood.
- Vibration transfer: If you’re on an upper floor, vibration can travel through joists and become noise, a mat helps, but only if it’s the right material and thickness.
- Sweat and moisture: Sweat drips, humidity, and mop water under a mat can haze finishes and warp edges, especially with laminate seams.
According to the National Wood Flooring Association (NWFA), moisture and improper protection are common contributors to finish damage on wood floors, which is why “just put something under it” sometimes still fails if the setup traps moisture.
Quick self-check: what floor protection do you actually need?
Before buying anything, match the solution to your floor and your riding style. This is the part people skip, then blame the mat later.
A simple checklist
- Floor type: hardwood, laminate, vinyl plank, tile, or carpet?
- Bike behavior: does it rock during hard efforts, or stay planted?
- Your workouts: steady rides, or high-intensity intervals with lots of body movement?
- Noise sensitivity: downstairs neighbors, shared walls, quiet hours?
- Sweat level: light sweat, heavy sweat, or you use a fan that blows sweat sideways?
If you check “rocks,” “intervals,” or “upstairs,” plan for both impact protection and vibration dampening, not just scratch prevention.
Pick the right mat: thickness, material, and size matter
how to protect floor from exercise bike setups often succeed or fail on mat choice. The cheapest thin foam can stop visible scratches, but still let dents or vibration through.
What to look for (practical, not marketing)
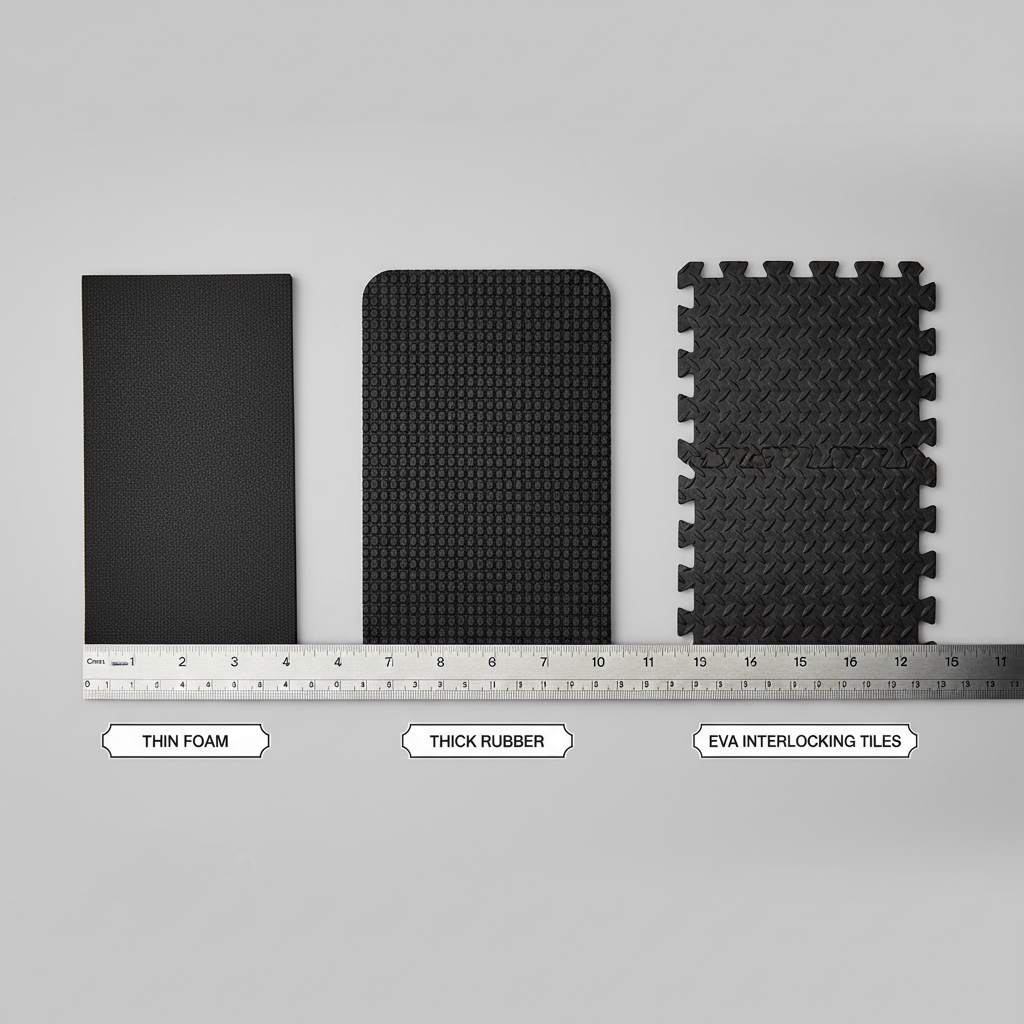
- Rubber (dense): best for vibration reduction and grip, often heavier and less likely to curl.
- EVA foam (interlocking tiles): decent for light bikes and gentle riding, can compress over time under small feet.
- PVC/vinyl mats: easy cleanup, but check slip resistance and whether it can trap moisture on wood.
- Thickness: many home setups do well around 6–10 mm for general protection, while upstairs noise concerns may push you toward thicker or layered solutions.
Size rule that prevents regret
Choose a mat that extends beyond the bike footprint by a few inches on all sides, so pedal stance changes and sweat spray still land on protected area.
Best protection by floor type (with a simple table)
Different floors fail in different ways. Hardwood hates grit and moisture, laminate hates standing water and seam swelling, carpet hates rocking because the base sinks unevenly.
| Floor type | Main risk | What usually works | Extra step if you’re upstairs |
|---|---|---|---|
| Hardwood | Scratches, finish haze, dents | Dense rubber mat + sweat management | Thicker rubber or layered mat (rubber over foam) |
| Laminate | Seam swelling, surface scuffing | Water-resistant mat, wipe under mat weekly | Add anti-vibration layer if noise travels |
| Vinyl plank (LVP) | Dents, discoloration, slip | Non-staining rubber or quality PVC mat | Use a mat with strong grip to stop micro-slide |
| Tile/Concrete | Noise, vibration, sliding | Rubber mat with high friction | Focus on vibration dampening thickness |
| Carpet | Wobble, instability, carpet wear | Rigid board + mat on top, or trainer platform | Stability first, noise usually improves too |
Setup steps that actually prevent dents, rocking, and marks
A mat helps, but the setup makes the difference. If your bike isn’t level, it will keep “walking” no matter how good the pad looks.
1) Clean the floor and the mat contact area
- Vacuum grit before placing the mat, tiny debris is what turns into scratches.
- Wipe the underside of the mat occasionally, especially on hardwood and laminate.
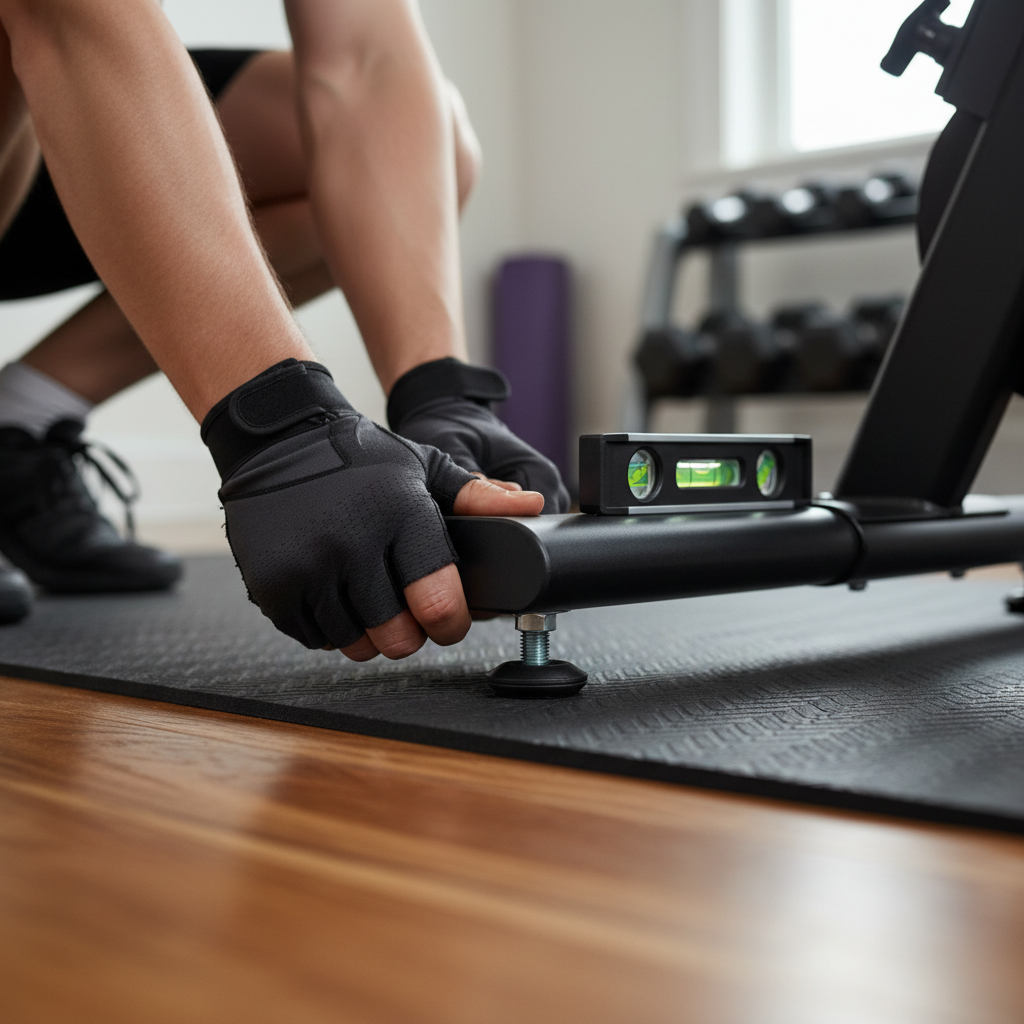
2) Level the bike (don’t guess)
- Adjust the leveling feet until rocking stops.
- If your model has only two adjustable feet, consider adding a firm shim designed for furniture, not folded paper.
3) Reduce point pressure if your floor dents easily
- Pick a denser mat, not just thicker foam.
- If dents still appear, add a second layer under the contact points, or use a rigid platform to spread load.
4) Manage sweat like it’s part of the equipment
- Use a towel on handlebars and frame, and a sweat guard if your bike supports it.
- After rides, lift a corner of the mat to let moisture evaporate if your room stays humid.
Common mistakes that still damage floors (even with a mat)
These are the “I did everything right” moments that usually have a simple explanation.
- Too-small mat: pedals and shoes end up outside the mat, sweat and grit land on bare floor.
- Soft foam on soft wood: foam compresses, the bike feet still create pressure points.
- Ignoring grit: tiny sand under the mat behaves like sandpaper when the bike shifts.
- Moisture trapped under a non-breathable mat: especially risky on hardwood and laminate, lift and dry periodically.
- Using adhesive pads that stain: some rubbers and adhesives can discolor vinyl or leave residue on finished wood.
If you’re trying to protect floors in a rental, it’s worth testing any pad or mat in a hidden corner for a day to check for staining or chemical smell, products vary.
Key takeaways (so you can act in 10 minutes)
- Stability beats thickness: a level, non-rocking bike prevents most scuffs and vibration.
- Dense rubber usually wins for hardwood, tile, and upstairs noise, while thin foam is hit-or-miss.
- Moisture control matters: wipe, ventilate, and don’t let sweat sit under the mat.
- Carpet needs structure: a rigid base can be more important than padding.
When to consider a pro or a different solution
If you see finish peeling, boards cupping, or recurring discoloration under the mat, pause and reassess. That can be a moisture issue, and on wood floors it’s often cheaper to fix early than to keep riding and hope it stops.
For persistent neighbor noise complaints, you may need a purpose-built isolation platform or guidance from your building management, since construction type varies. If you have any health or safety concerns related to bike stability, especially if the bike shifts during hard efforts, it’s reasonable to consult the bike manufacturer support or a qualified technician.
Conclusion: protect the floor, then forget about it
how to protect floor from exercise bike wear is less about one magic mat and more about a clean surface, a stable bike, and a material that matches your floor. Get those right and you stop thinking about dents, scuffs, and vibration during every ride.
If you want a quick win today, start by leveling the bike and adding a dense, properly sized mat, then build in a simple sweat wipe-down routine that keeps moisture from lingering.