
how to fix a bent bike wheel spoke starts with one honest question, is the spoke actually bent, or is the wheel simply out of true. Those two problems feel similar on a ride, but the fix and the risk level differ, and mixing them up is how people end up with a worse wobble than they began with.
If you catch it early, many “bent spoke” complaints turn out to be a loose nipple, a small lateral wobble, or a spoke that lost tension after a bump. The good news, most of this is approachable with basic tools and patience. The not-so-fun news, forcing a kinked spoke back into shape can create a weak spot that may fail later.
This guide helps you diagnose what you’re seeing, decide whether to true, re-tension, replace, or visit a shop, and avoid the classic mistakes that make wheels noisy, wavy, or unsafe.
What “bent spoke” usually means in real life
People say “bent spoke” for a few different situations. The fix depends on which one you actually have.
- Spoke is kinked (a visible sharp bend): often from a stick, crash, or the wheel folding sideways.
- Spoke is bowed slightly (a smooth curve): sometimes cosmetic, sometimes a sign of uneven tension.
- Wheel is out of true (rim wobbles left-right): spokes may look “off,” but the spoke itself isn’t bent.
- Loose or seized nipple: spoke line looks odd, wheel pings, tension feels inconsistent.
- Rim damage: a dented rim can mimic a spoke issue, and truing around it has limits.
According to Park Tool... wheel truing is fundamentally about balancing spoke tension so the rim tracks straight. In other words, the spoke is rarely the lone villain, the system matters.
Quick safety check before you touch any tools
Before any adjustments, do a fast safety pass. This takes two minutes and can save you from riding a wheel that’s close to failing.
- Brake rub test: spin the wheel, see if it hits rim brakes or the rotor drags in one spot.
- Broken spoke check: look for a spoke with no tension, a missing spoke head, or a nipple pulled through the rim.
- Rim crack check: inspect around spoke holes and near the valve hole for hairline cracks.
- Hub flange check: look for cracks where spokes anchor at the hub.
- Tire clearance: if the rim wobbles enough to threaten the frame, don’t ride it.
If you see cracks, multiple loose spokes, or the rim touches the frame, it’s usually smarter to stop and bring the wheel to a shop.
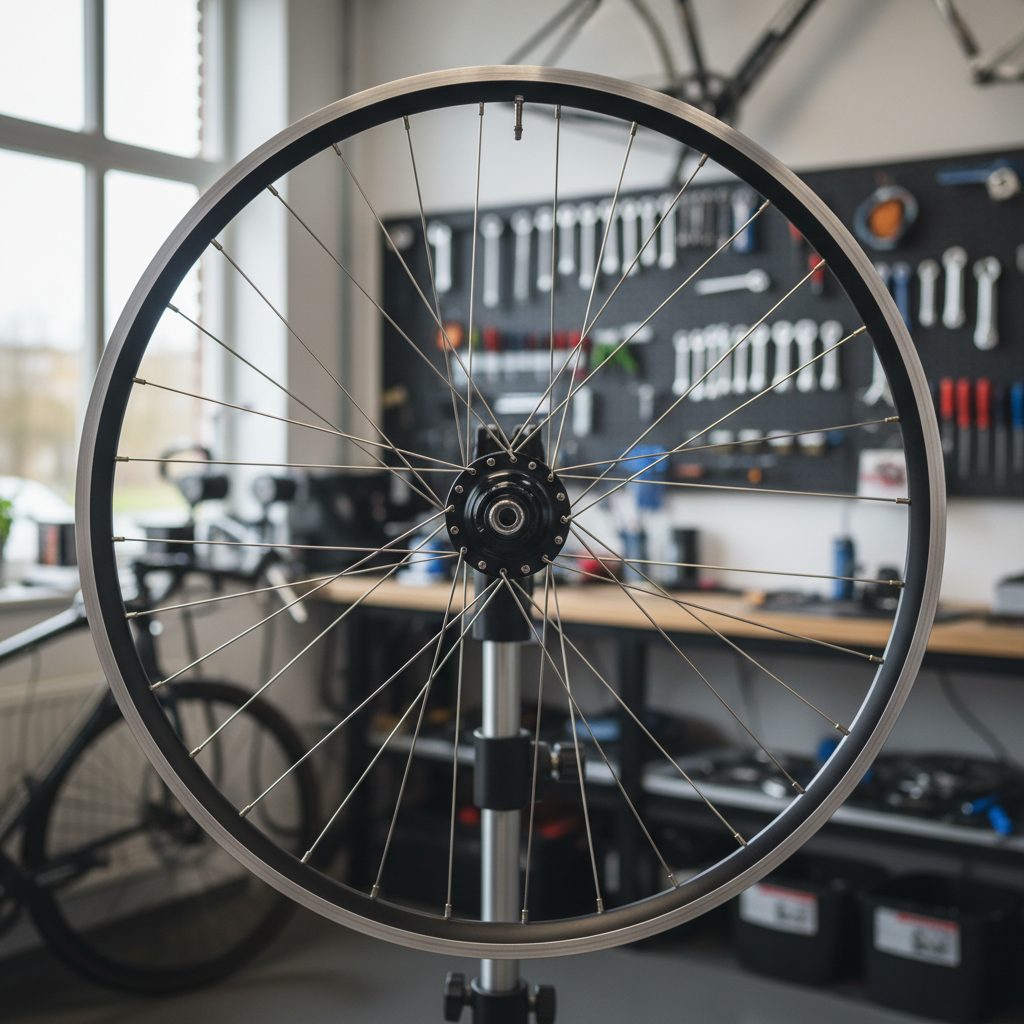
Tools you’ll want (and what you can skip)
You can do a decent job without a full truing stand, but the right basics reduce frustration.
- Spoke wrench that fits your nipple size (common sizes vary, guessing strips nipples)
- Marker or tape to mark wobble points
- Zip tie or a fixed pointer (DIY truing reference on a fork or frame)
- Light lubricant (a drop at nipple-rim interface can help if nipples feel sticky)
- Optional: spoke tension meter and dishing tool, helpful but not required for small fixes
Skip pliers on nipples and skip “just crank it tighter” energy. That’s how nipples round and spokes wind up.
Diagnosis: is the spoke bent, or is the wheel out of true?
To diagnose properly, you need two observations: what the rim does when it spins, and what the spoke looks like when it’s unloaded.
Step 1: watch the rim, not the spokes
Elevate the wheel, spin it, and use a pointer close to the rim (zip tie works). You’re looking for:
- Lateral wobble: rim moves left-right, common after impacts
- Radial hop: rim moves up-down, often from rim dents or big tension issues
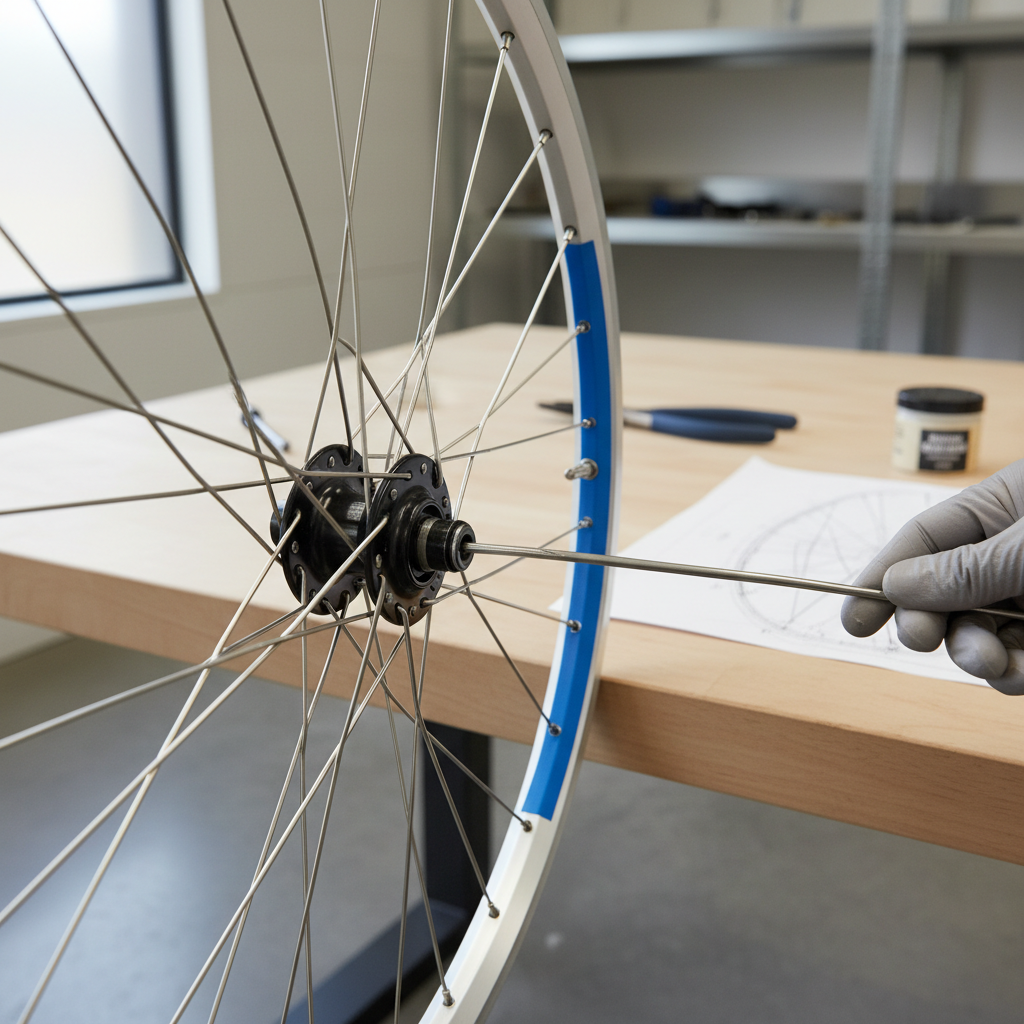
Step 2: inspect the suspect spoke carefully
- If you see a sharp kink, treat that spoke as compromised.
- If it’s a gentle curve, compare to neighboring spokes, it may be normal alignment, or tension imbalance.
- Pluck test: gently pluck adjacent spokes like a guitar string, a dramatically lower “note” often signals low tension.
Key point: if the rim wobbles but the spoke is not kinked, you’re mostly doing truing and tension balancing, not “straightening metal.”
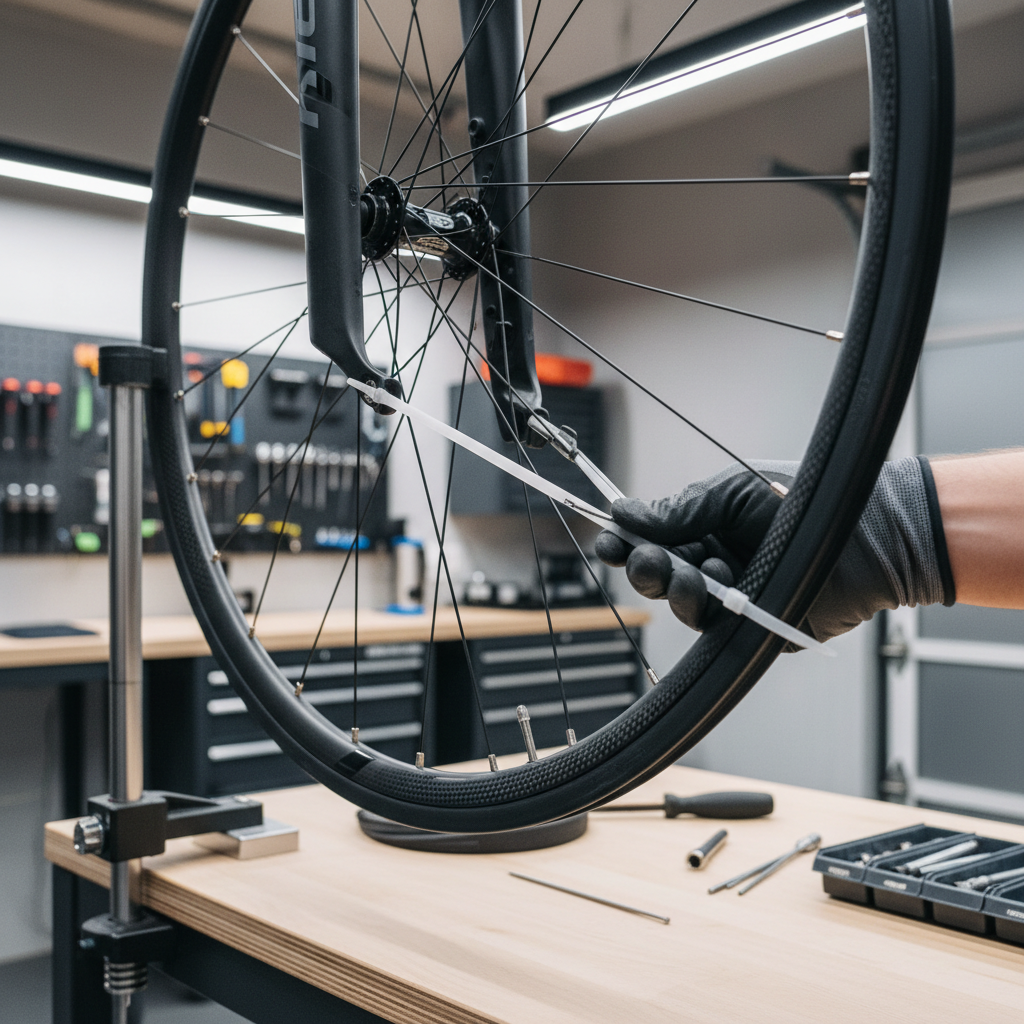
How to fix a minor wobble by truing (the safe DIY route)
This is the most common successful home fix for how to fix a bent bike wheel spoke complaints, because many cases are really light out-of-true issues.
Set up a simple truing reference
- For front wheels, mount the wheel in the fork. For rear wheels, it’s easiest on a stand, but you can also use the frame if needed.
- Attach a zip tie to the fork leg or stay, trim it so it barely clears the rim.
- Spin the wheel, mark the biggest rub points with a marker.
Make small adjustments (quarter turns, not full turns)
General rule for lateral truing:
- If the rim pulls left at a spot, tighten the right-side spokes near that spot, or loosen the left slightly.
- If the rim pulls right, tighten the left-side spokes near that spot, or loosen the right slightly.
Work in tiny increments. A good rhythm is adjust, spin, re-check, then adjust again.
Prevent spoke wind-up
When you turn the nipple, the spoke can twist instead of increasing tension. If the spoke twists, it may unwind later and the wheel goes out of true again. If you notice the spoke blade or spoke line twisting, back off slightly, then re-tighten more smoothly.
According to Park Tool... making small, even corrections is the standard approach because big turns quickly create new wobbles and uneven tension.
When a spoke is actually bent: straighten vs replace
If the spoke has a clean, sharp kink, replacement is usually the more reliable answer. Straightening can get you home, but it can also leave a fatigue point.
When gentle straightening might be acceptable
- The bend is slight and smooth, no crease line
- The wheel is otherwise healthy, no rim cracks, no multiple loose spokes
- You need a temporary fix to ride cautiously to a shop
When replacement is the better call
- Visible kink/crease in the spoke
- Repeated breakage in the same area of the wheel
- Nipple or threads look damaged, or the spoke won’t hold tension
If you choose to gently straighten, do it slowly, avoid over-bending back and forth, then re-check wheel true and spoke tension balance. If anything feels “springy” or unstable, stop and replace.
Decision table: what to do based on symptoms
If you’re stuck deciding, this quick table usually gets you to the right next step without overthinking.
| What you see/feel | Likely cause | Good next step | DIY difficulty |
|---|---|---|---|
| Small side-to-side wobble, no obvious spoke damage | Wheel slightly out of true | Minor truing with quarter turns | Easy–Medium |
| One spoke visibly kinked | Impact damage | Replace spoke, then true | Medium–Hard |
| Multiple spokes feel loose on one side | Tension imbalance, possible rim fatigue | Full tension check, consider shop service | Hard |
| Rim hop (up-down) in one spot | Rim dent or radial issue | Inspect rim, limited truing possible | Medium–Hard |
| Nipple won’t turn or rounds off | Corrosion, seized nipple | Lubricate, correct wrench, replace nipple if needed | Medium |
Practical tips that prevent “I fixed it, but it came back”
- Work at the rim’s problem area, not the spoke you dislike. Mark the wobble peak, then adjust spokes around that zone.
- Use small turns. Quarter turns are boring, but they keep you in control.
- Keep changes symmetric. If you tighten one spoke a lot, you often need small supporting adjustments on neighbors.
- Don’t chase perfection. For many commuters, a tiny wobble that doesn’t rub is acceptable.
- Re-check after a short ride. Spokes can settle, especially if wind-up happened.
And a small but real detail, spoke nipples tighten counterclockwise if you look from the rim side, but many people are looking from the wrong angle. When in doubt, make a tiny test turn and confirm.
Common mistakes (and why they matter)
- Over-tightening one spoke to “pull the rim over”: creates a local high-tension spot and can lead to spoke breakage.
- Ignoring dish: you can true a wheel but shift it off-center, which may cause tire rub in the frame.
- Adjusting random spokes: spreads the error and turns a small fix into a full rebuild.
- Using the wrong wrench size: rounds nipples fast, then even a shop may need to replace hardware.
If you’re unsure, it’s totally reasonable to stop at “good enough to ride safely” and let a mechanic finish the fine tuning.
When it’s time to get professional help
Some wheel problems are technically DIY, but not worth forcing through at home, especially if you rely on the bike daily.
- The wheel has cracks at spoke holes, hub flange, or rim joint
- You have repeated spoke failures in the same section
- The wobble is large enough that brakes or frame contact happens quickly
- Nipples are seized, or several nipples round off
- You suspect the wheel needs a re-dish or full tension balance
According to Shimano... correct wheel installation and brake rotor alignment matter for safe operation, and if you’re dealing with disc brake rub plus wheel true issues at the same time, a shop can usually sort it faster and safer.
Key takeaways and a simple next step
Key takeaways: Most “bent spoke” situations are actually a mild truing problem, sharp kinks usually mean replacement, and small nipple turns beat big corrections. If you want one next step today, mark the wobble, make quarter-turn adjustments at the worst spot, and stop when brake rub disappears.
If the spoke is visibly creased or the wheel shows cracks, skip the hero move and get the wheel inspected, it’s not worth gambling with a front-wheel failure.
If you want, tell me whether your wheel is front or rear, rim or disc brakes, and whether the spoke has a kink or just looks “off,” and I can suggest the safest adjustment pattern.