
How to install bike rack in truck bed comes down to two things: choosing a mount style that matches your truck and tightening it the right way so bikes stay upright without chewing up paint or rails.
If you’ve ever heard a fork mount creak on a washboard road or watched a bike lean into your tailgate, you already know why this matters, a “pretty secure” setup often fails at the exact moment you hit a pothole, brake hard, or take a ramp too fast.
This guide walks through the common truck bed rack types, a quick fit checklist, and a practical install process you can finish in an hour or two with basic tools, plus the mistakes that cause most of the wobble.
Pick the right truck bed rack style (it changes the whole install)
Before you drill anything or clamp down on a rail, get clear on what kind of rack you’re installing, because the “right” hardware, torque, and even where you place bikes depends on the mount.
- Fork-mount plates on the bed floor: stable and clean-looking, but you remove the front wheel and you may need drilling or a bed track system adapter.
- Bed-rail clamp racks: no-drill for many trucks, fast to remove, but clamping pressure can mark rails if you skip protective pads.
- Crossbar-style systems: a bar spans the bed (often near the cab), then fork mounts attach to the bar, very common for hauling 2–4 bikes with good spacing.
- Tailgate pad: quickest “install” (strap on), great for mountain bikes, but bikes can rub and it’s not ideal for long highway drives in all conditions.
In a lot of cases, crossbar systems strike the best balance: no permanent holes in your bed, and the bar gives you consistent mounting points even if you change bikes later.
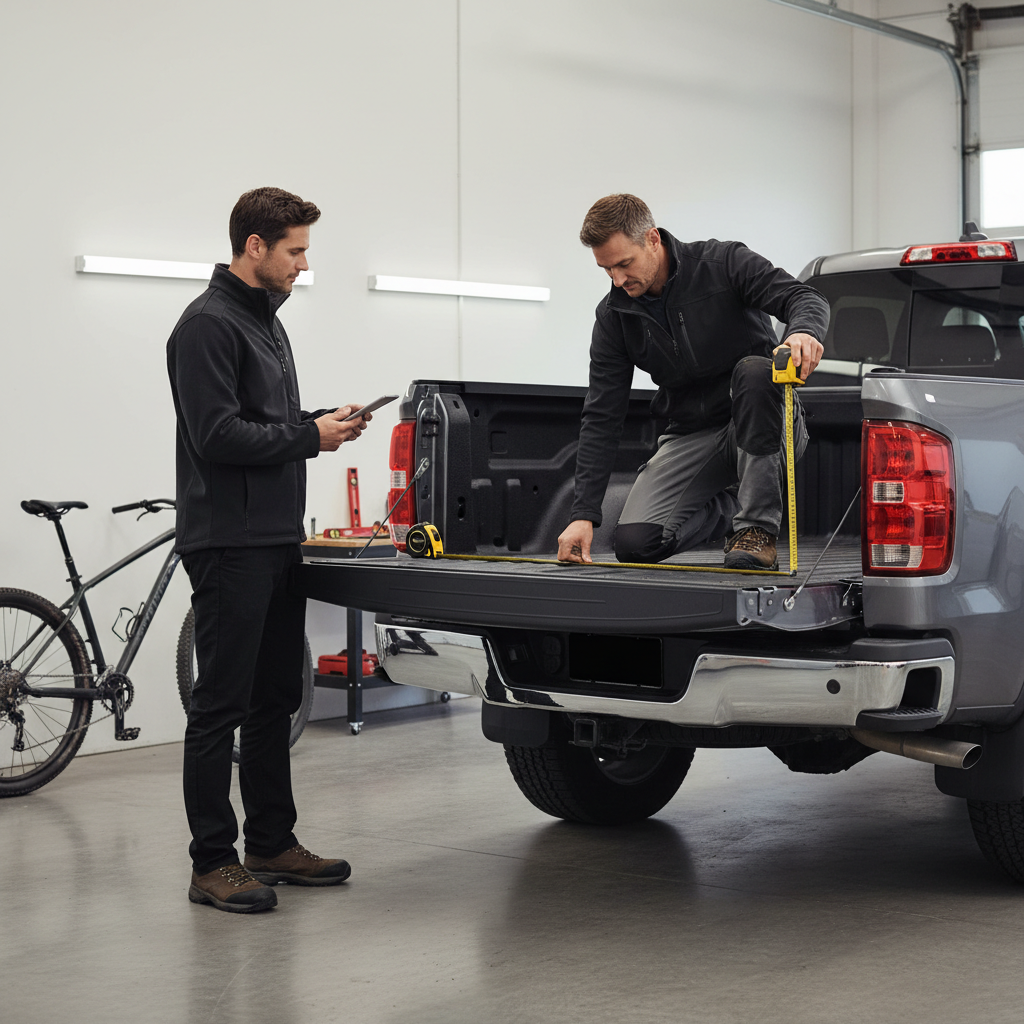
Quick fit check before you start (save yourself the redo)
Most install problems aren’t “bad racks,” they’re fit issues that show up after the first drive. Spend five minutes on this checklist.
- Bed width and rail shape: some clamps need a flat inner lip, others need a track channel.
- Bed liner type: drop-in liners can prevent clamps from gripping, spray-in liners usually work but change friction and torque feel.
- Bike count and handlebar width: wide bars can clash, especially with fork mounts placed too close.
- Axle standards: quick release vs 12x100, 15x110 (Boost), etc, confirm you have the right fork adapters.
- Cab clearance: turn handlebars and check they won’t hit the rear window under bumps.
- Tailgate use: decide if you want the tailgate up or down, and ensure the rack doesn’t force an unsafe compromise.
According to NHTSA, properly securing cargo helps reduce road hazards from shifting or falling loads, and while they don’t certify bike racks specifically, the principle holds: if it can move, it can become a problem.
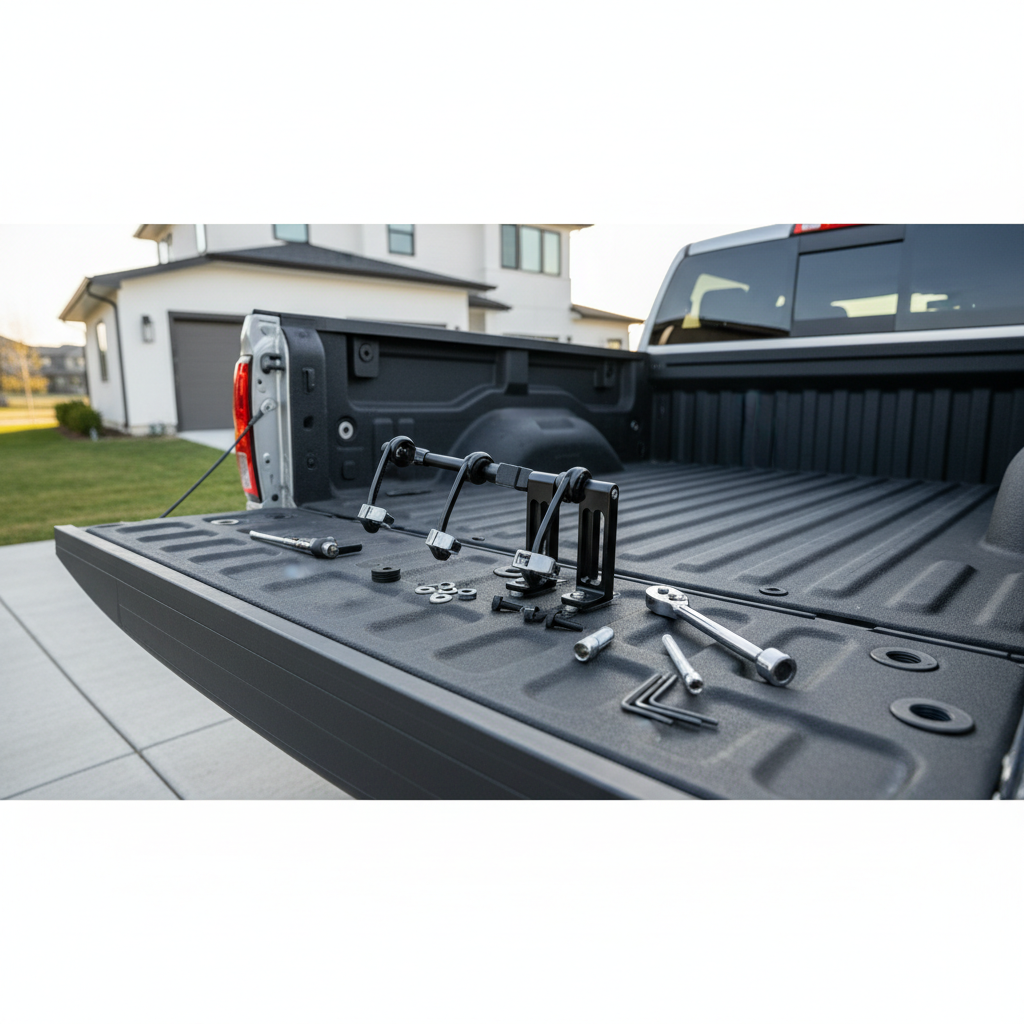
Tools and hardware you typically need
You don’t need a shop full of tools, but you do want the right ones so you don’t round bolts or over-tighten clamps.
- Allen keys or hex-bit sockets (common sizes: 4–6 mm)
- Socket set or wrench set
- Torque wrench (recommended for carbon forks, clamp systems, and rail mounts)
- Measuring tape and marker
- Protective pads or rubber shims (often included, worth using)
- Threadlocker (medium strength) if the manufacturer allows it
If your kit requires drilling, add a step bit, rust-preventive paint, and a vacuum for metal shavings, but if you’re on the fence about drilling into the bed, it’s reasonable to choose a no-drill crossbar instead.
Step-by-step: install a crossbar or rail-clamp truck bed bike rack
This is the most common path for people searching how to install bike rack in truck bed, because it works across many trucks and keeps the bed floor mostly free.
1) Decide placement: near the cab usually wins
Position the bar closer to the cab than the tailgate in many setups, it reduces leverage on the mounts, keeps bikes away from exhaust heat and road spray, and often improves stability.
- Dry-fit the bar and close the tailgate.
- Hold a bike in place and check saddle and handlebar clearance at the cab.
- Mark the bar position so you can return to it after leveling.
2) Level the bar and set clamp pads
Uneven clamp height causes a subtle twist, then bolts back out over time. Adjust both sides until the bar sits level across the rails.
- Place rubber pads where clamps contact the rail.
- Center the bar left-to-right unless your bike spacing requires offset.
- Hand-tighten both clamps evenly before final tightening.
3) Tighten to spec, not “as tight as possible”
Over-tightening can deform bed rails, crack plastic clamp parts, or make removal miserable. Under-tightening creates wobble. Follow the rack manual if it lists torque values.
- Alternate left and right clamp turns to keep pressure even.
- After initial tightness, shake the bar hard, it should not shift.
- If the rack uses set screws, snug them last.
4) Mount fork blocks or trays to the bar
Now you’re building the “parking spots” for bikes. Space them so handlebars don’t collide and pedals don’t hook each other.
- Stagger mounts (one facing forward, one backward) to gain handlebar clearance.
- Leave extra room for your widest bike, usually a modern MTB.
- Use washers exactly as the kit shows, skipping them is a quiet source of loosening.
5) Load a bike and do a real shake test
Install the front fork into the mount, strap the rear wheel, then grab the bike at the saddle and push side-to-side. You’re looking for rack movement at the clamp points, not just tire squish.
- If the rack shifts, re-check pad placement and clamp alignment.
- If the bike shifts, re-check axle adapter fit and rear wheel strap routing.
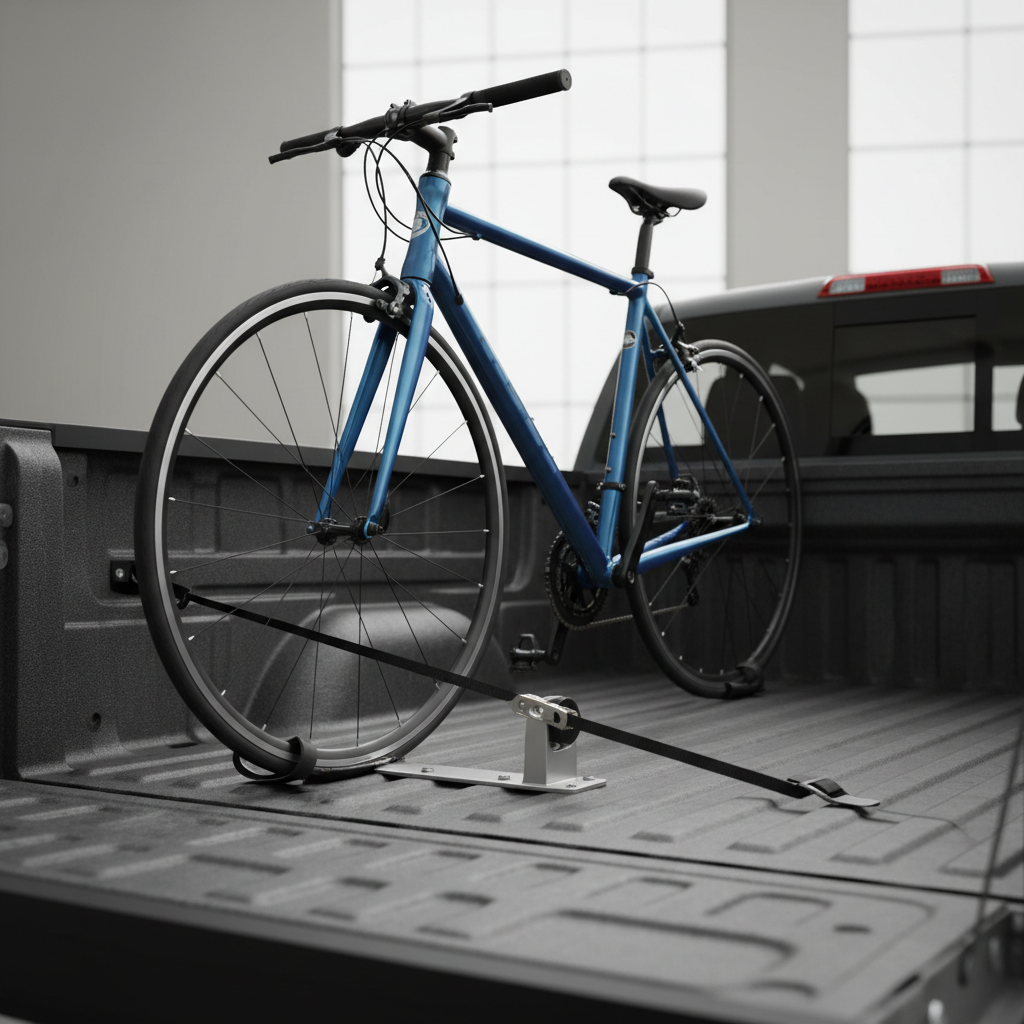
Alternative: install a floor-mounted fork rack (drill vs no-drill)
Floor mounts feel bombproof when done well, but the decision point is simple: are you comfortable putting holes in the bed, or do you have factory bed tracks you can use?
No-drill options
- Bed track adapters: bolt fork mounts into the track system using compatible T-bolts.
- Mount to a removable base: some riders attach fork mounts to a 2x6 board cut to bed width, then brace it to reduce sliding.
If you drill (do it cleanly)
- Mark holes carefully, confirm under-bed clearance for wiring or fuel components.
- Use rust protection on bare metal edges.
- Use stainless hardware when possible, and tighten to the rack’s spec.
If any of this feels uncertain, a local bike shop or truck accessory installer can usually do a clean install, and you avoid the “I drilled once, now I live with it” regret.
Common problems and how to fix them (what people usually miss)
- Rack loosens after one drive: often clamp pads are missing, bolts lack proper preload, or you tightened one side fully before the other. Re-seat and tighten evenly.
- Bikes lean into each other: mounts are too close, or all bikes face the same direction. Stagger orientation and increase spacing.
- Rear wheel keeps walking: strap angle is wrong or strap is too short for big tires. Re-route the strap so it pulls down and slightly forward.
- Cab window anxiety: move the bar a few inches rearward and rotate handlebars inward, or remove the front wheel and lower the bike profile.
- Clamp marks on rails: add thicker rubber shims, clean grit off rails, and avoid over-tightening.
Safety, legal, and paint-protection checks before you hit the highway
After you learn how to install bike rack in truck bed, the safer win is keeping it consistent every time you load up, small habits prevent the expensive mistakes.
- Do a two-minute pre-drive check: grab each bike and shake, confirm rear straps tight, confirm axles fully seated.
- Keep straps out of wind: loose strap tails can flap and fray fast, then fail when you least expect it.
- Watch tailgate and plate visibility: depending on bike position, you may block lights or the plate, rules vary by state and situation, so check local requirements if you often drive with the tailgate down.
- Avoid contact points: add frame protection film or soft sleeves where bikes might touch each other or the bed.
According to FMCSA cargo securement guidance, loads should be secured to prevent shifting during normal driving, braking, and cornering, and while a personal pickup isn’t a commercial vehicle, treating bikes like cargo is a smart baseline.
Setup comparison table (choose what fits your routine)
| Rack type | Install difficulty | Truck modifications | Best for | Watch-outs |
|---|---|---|---|---|
| Crossbar/rail clamp | Easy–Medium | Usually none | 2–4 bikes, quick removal | Clamp alignment, rail protection |
| Floor fork-mount (track) | Medium | None if using bed tracks | Clean bed, stable mount points | Adapter compatibility |
| Floor fork-mount (drilled) | Medium–Hard | Drilling required | Permanent, very stable setup | Corrosion protection, resale concerns |
| Tailgate pad | Easy | None | MTB shuttles, quick trips | Paint rub, security, long-drive stability |
Key takeaways (so you don’t overthink it)
- Stability comes from even clamping and correct spacing, not brute-force tightening.
- Dry-fit once with an actual bike before committing to mount positions.
- Protect contact points with pads or shims, grit under a clamp scratches fast.
- Re-check after the first 10–20 minutes of driving, many systems settle slightly.
Conclusion: a solid install is mostly about the last 10%
If your goal is a setup you can trust at speed, treat the install like you would a handlebar or stem bolt: align carefully, tighten to spec, then test with real force. Once you do that, most truck bed racks feel boring in the best way, they just hold.
If you want the simplest next step, pick your rack style, do the fit checklist, and set aside time for a careful first load and re-torque, that single habit usually prevents the annoying “why is it loose again” cycle.
FAQ
- Do I need to drill to install a truck bed bike rack?
Not always. Many crossbar and rail-clamp systems avoid drilling, and some trucks have bed track systems that accept T-bolts for fork mounts. - What’s the safest direction to face the bikes?
It depends on spacing and cab clearance. Staggering directions often reduces handlebar overlap, but confirm nothing can contact the rear window during bumps. - How tight should the clamps be on a bed-rail rack?
Follow the manufacturer spec when available. If you don’t have it, aim for “no movement under a hard shake” without crushing pads or deforming the rail, a torque wrench helps. - Can I keep the front wheel on?
Some tray-style bed racks allow it, but many bed systems are fork-mount. If you want wheels-on loading, verify the rack is designed for that and matches tire sizes. - Why does my rear wheel strap keep loosening?
Common causes are strap routing, mud or dust reducing grip, or a strap that’s too short for wide tires. Re-route so it pulls down and forward, and replace worn straps. - Will a rack damage my truck bed paint or liner?
It can, especially with grit under clamps or repeated vibration. Using rubber pads, cleaning contact areas, and avoiding over-tightening reduces risk. - When should I ask a professional to install it?
If drilling is required, you’re unsure about under-bed clearance, or you can’t stop movement after careful re-seating and tightening, a shop can usually diagnose fit and hardware issues quickly.
If you’re installing for frequent weekend rides and you’d rather skip trial-and-error, a good approach is choosing a rack that matches your bed rails or factory track system, then asking a bike shop or truck accessory installer to double-check spacing and torque, it’s often a small cost compared with replacing a damaged frame or a scratched bed rail.