
how to make a diy bike parking rack comes down to two decisions: what style fits your space, and how you’ll keep it stable so bikes don’t tip into each other.
If you’ve ever leaned bikes against a garage wall and watched them domino, you already know the pain: scratched frames, bent rotors, and a constant mess. A simple rack fixes that, and it usually costs less than a store-bought option if you already own basic tools.
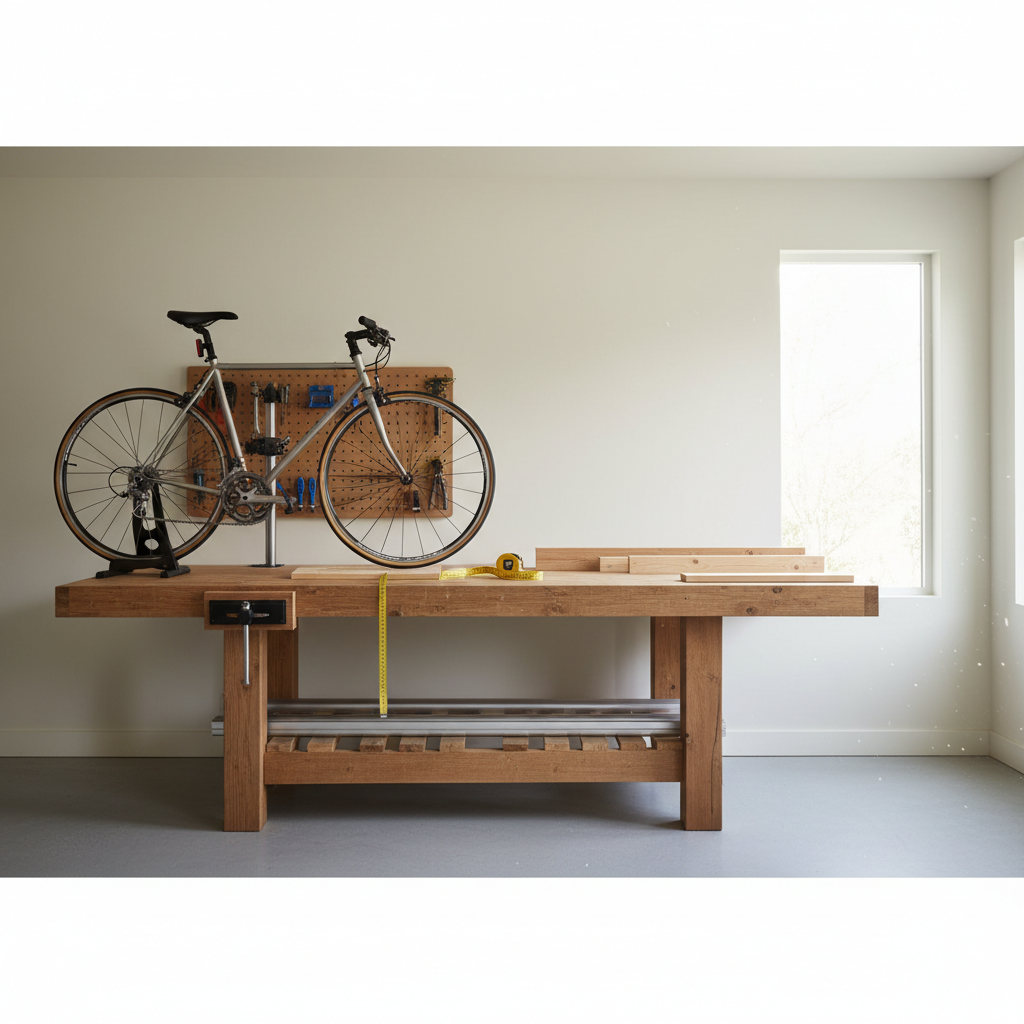
This guide gives you a practical way to pick a rack style, a materials-and-tools checklist, and step-by-step builds you can actually finish in a weekend. I’ll also flag the spots where DIY racks go wrong, especially anchoring and spacing.
Pick the right rack style for your space (and your bikes)
Before cutting anything, decide how bikes should “live” in the area. The best layout is usually the one that reduces lifting, keeps handlebars from fighting each other, and lets you roll a bike in and out without a shuffle.
- Floor “wheel-slot” rack (2x4 wood): easiest build, great for garages and sheds, bikes roll in, no wall drilling.
- Pipe-and-flange floor rack: sturdier, more compact, good if you want a more “finished” look.
- Wall-mounted rail with hooks: saves floor space, but requires studs and some lifting.
One reality check: wide handlebars, fenders, and e-bikes change everything. If you store mountain bikes or e-bikes, you’ll want more spacing and stronger fastening than the “one-size” racks you see online.
Measurements that prevent tipping, rubbing, and wasted space
Most racks fail because spacing gets guessed. Take 10 minutes and measure, it saves you re-drilling later.
Quick sizing guidelines
- Slot spacing (center-to-center): many standard bikes work around 14–16 inches, but wide bars often want 16–18 inches.
- Slot width: aim slightly wider than your tire (road tires need less, fat tires need more). If you mix bikes, build for the biggest tire you own.
- Front vs rear wheel: front-wheel parking is common and stable, but some riders prefer rear-wheel to avoid brushing rotors on disc brakes.
According to OSHA, good housekeeping means keeping aisles and walkways clear to reduce trips and impacts, which matters in garages where bikes share space with tools and cars. Translate that into DIY terms: leave a clear lane in front of the rack so you’re not twisting bikes sideways to park.
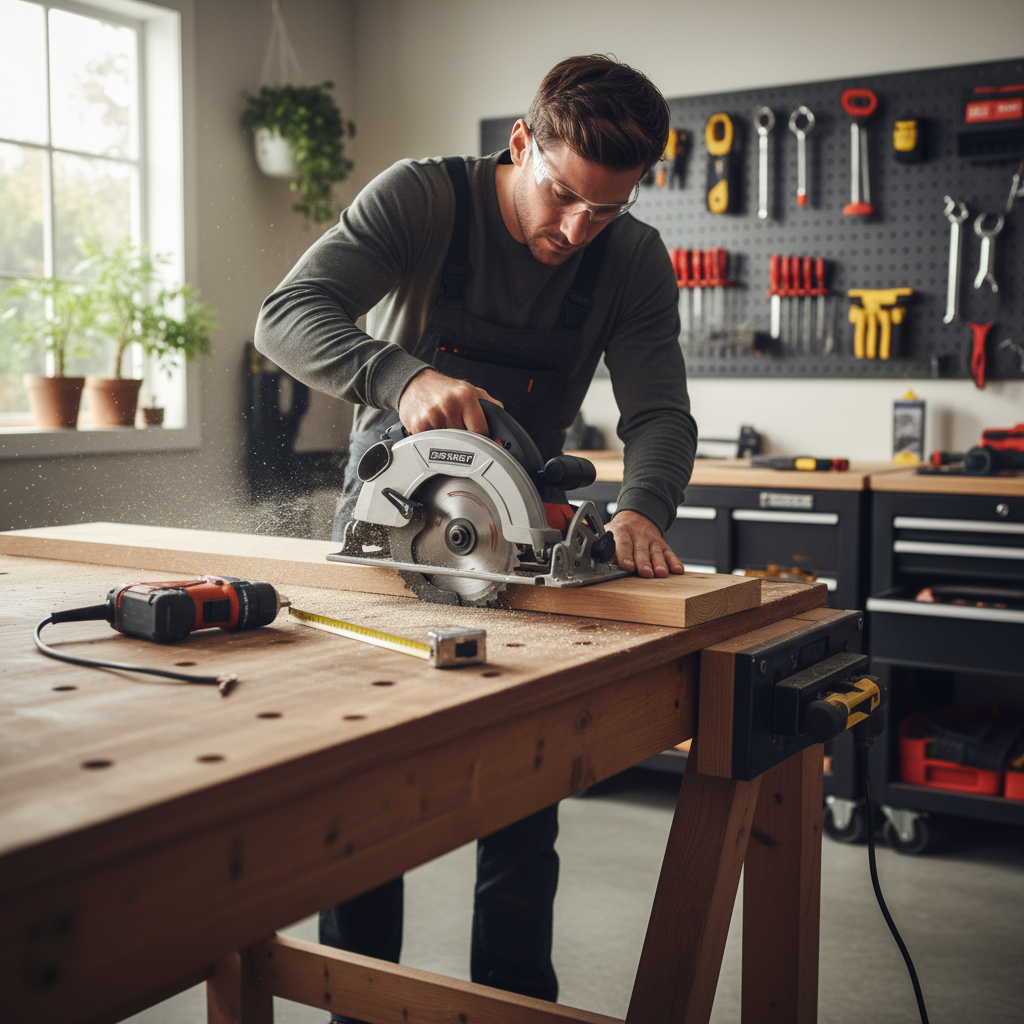
Materials and tools (with a simple cost/effort table)
You can build a solid rack with basic materials. Choose wood if you want the cheapest path and easiest adjustments, choose pipe if you want heavier-duty stability and a cleaner look.
| Rack option | Typical materials | Tools | Effort | Good for |
|---|---|---|---|---|
| 2x4 wheel-slot floor rack | 2x4s, screws, wood glue (optional), rubber feet (optional) | Drill/driver, saw, tape measure, square | Low | Most garages, renters (no wall holes) |
| Pipe-and-flange rack | Black pipe, floor flanges, wood base, lag screws | Drill, socket/wrench, saw for base | Medium | Heavier bikes, long-term setups |
| Wall rail with hooks | 2x6 rail, bike hooks, lag screws | Stud finder, drill, level | Medium | Small spaces, keeping floor open |
Key point: stability comes more from fastening and base width than “fancy” parts. Spend attention on anchors and squareness, not aesthetics first.
Build #1: Simple 2x4 floor bike parking rack (wheel-slot style)
This is the most forgiving way to learn how to make a diy bike parking rack, because you can tweak spacing with a drill and a few extra screws, and you don’t need special hardware.
Concept: two long base rails, plus repeated short “slot blocks” that create channels for each wheel.
Cut list (example for 4 bikes)
- 2 long base rails: 2x4, about 60–72 inches long (length depends on your spacing)
- 8 slot blocks: 2x4, about 10–12 inches long each
- Optional: plywood base plate to make it heavier and harder to rack sideways
Step-by-step
- Lay out the rails parallel on the floor, spaced roughly a tire diameter apart.
- Mark slot positions using your target center-to-center spacing, start with the first bike you plan to park most often.
- Dry fit with a real bike wheel, set the wheel between two blocks to confirm the slot width feels right.
- Fasten blocks to the rails with wood screws, pre-drill to reduce splitting, keep blocks square.
- Add weight or anti-slip: rubber feet, a strip of grip tape, or screw the rack to a plywood base if the floor is slick.
If the rack “walks” when you pull a bike out, widen the footprint or add a base plate. People often try to solve that by tightening screws harder, but the geometry is the real fix.
Build #2: Pipe-and-flange rack for heavier bikes (compact and sturdy)
If you store an e-bike, a cargo-ish commuter, or you just want less flex, pipe gives you a more rigid “fence” for wheels. It costs more than 2x4-only builds, but it tends to feel more permanent.
What you’ll need
- Black pipe sections (length depends on your design)
- Floor flanges (mounting bases)
- Wood base board (2x6 or a plywood strip)
- Lag screws or structural wood screws
Build steps
- Design the bays: plan each “U” or divider section so the wheel sits between two uprights.
- Pre-mark flange holes on the wood base, keep all flanges aligned so pipes stay parallel.
- Fasten flanges to the base with lag screws, snug but don’t strip.
- Thread pipes together and check alignment, then tighten with a wrench.
- Stabilize the base: add a wider base board or anchor to the floor if you own the space.
According to CPSC, tip-overs and falls are common household injury scenarios, so if your rack sits where kids run around, treat stability as a safety issue, not just “neat storage.” If you’re unsure about anchoring into concrete or walls, a local hardware store often helps you pick the right anchors for your surface.
Fast checks: does your rack design match your situation?
Before you commit, run through this list. It’s boring, but it catches the “oh no” moments early.
- Mix of tire sizes? Build slots for the largest tire, use shims for narrower tires if needed.
- Disc brakes? Leave extra room so rotors don’t tap wood blocks or pipe.
- Fenders or racks? Increase spacing, otherwise bikes snag when you pull them out.
- Kids’ bikes included? Consider alternating directions or making a shorter bay section.
- Garage slopes? Add anti-slip feet or anchor points so the rack doesn’t creep.
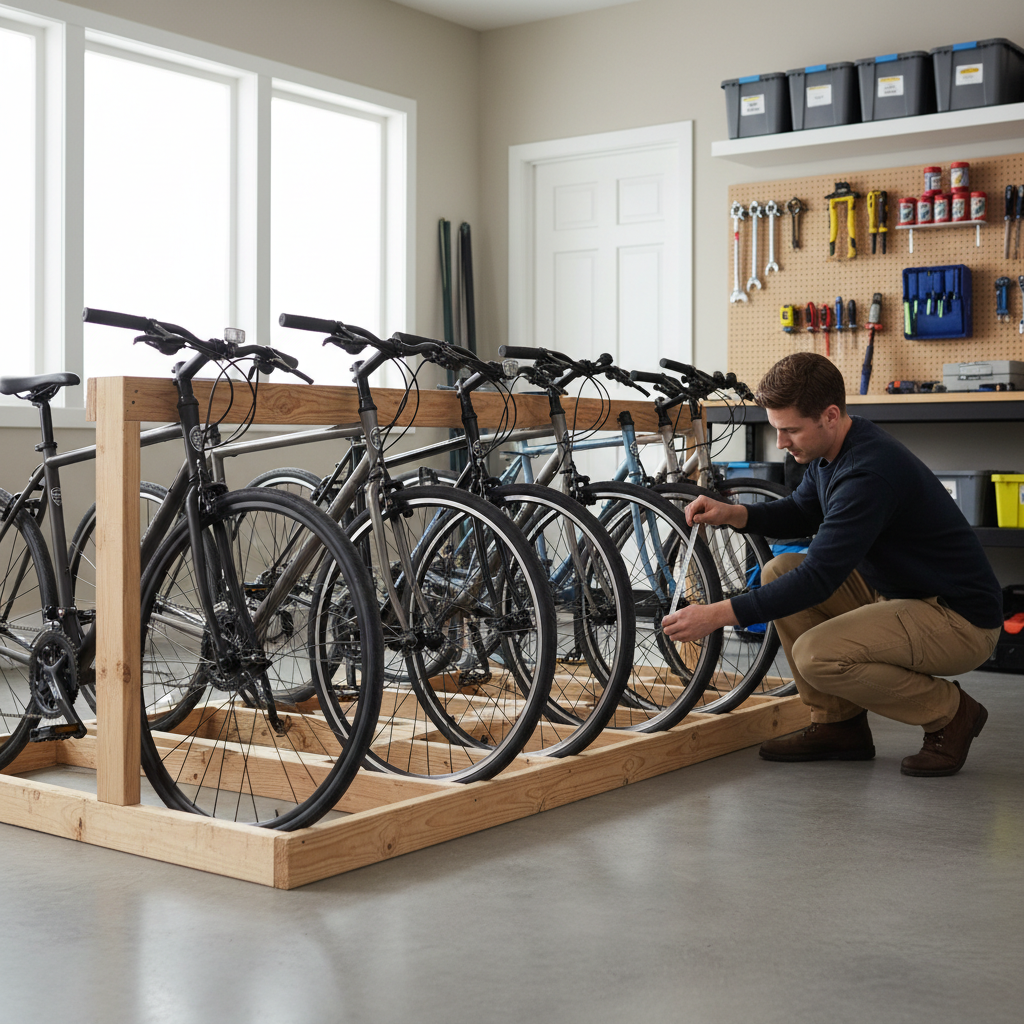
Key takeaway: if bikes touch each other when parked, you’ll eventually stop using the rack. Increase spacing or stagger parking directions until it feels effortless.
Common mistakes (and the small fixes that save the build)
DIY racks rarely fail because someone can’t cut wood, they fail because one small assumption stacks into daily annoyance.
- Slots too tight: wheels wedge in, tires scuff. Fix by widening the channel or sanding edges.
- No base weight: rack slides when you remove a bike. Fix with a plywood base, wider rails, or floor anchors.
- Not accounting for handlebars: bikes fight each other. Fix by increasing center spacing or alternating direction.
- Wrong fasteners for the surface: drywall anchors for a heavy wall rack is a bad day. Use studs or consult a contractor if unsure.
- Skipping finish in damp areas: garages can be humid. A simple sealant/paint often helps wood last longer.
Also, avoid building the rack so tight to a wall that pedals scrape. Give yourself a little forgiveness space, you’ll appreciate it when you’re tired and parking one-handed.
When it’s worth getting professional help
If your plan involves anchoring into masonry, drilling near electrical, or supporting multiple heavy e-bikes on a wall, it may be worth asking a handyman or contractor for guidance. That’s especially true in older homes where studs, lath, or block walls can be unpredictable.
For anyone renting, check your lease before drilling. A floor rack avoids most of that friction, and you can still make it sturdy with a wide base and added weight.
Practical finishing touches that make the rack nicer to use
Once the structure works, the last 20% makes it feel “done,” and helps bikes stay clean and quiet.
- Add padding where frames might touch: adhesive foam, rubber strips, or old inner tube sections.
- Label bays if the household shares: it cuts daily bike shuffling.
- Include a small hook strip nearby for helmets and locks, so the rack becomes the parking zone.
- Protect the floor with a mat under the rack if tires track in water or grit.
If you’re planning to expand, build the rack in modular sections. That way you can add another two-bike segment instead of rebuilding everything when someone buys a new ride.
Conclusion: a DIY rack that actually gets used
A good rack feels invisible: you roll the bike in, it stays upright, you pull it out without snagging another handlebar. When you focus on spacing, base stability, and the bikes you truly own, you end up with a setup that stays neat instead of becoming another abandoned project.
Action steps: measure your widest handlebars and largest tire today, then choose either the 2x4 wheel-slot build for speed or the pipe-and-flange build for extra rigidity. If you want, sketch your bay spacing on painter’s tape on the floor first, it’s a fast reality check.