
Best bike polish for shine usually comes down to two things: what your frame finish can tolerate, and what kind of shine you actually want, quick gloss for photos, or a deeper finish that also helps repel grime.
A lot of riders buy “bike polish” expecting magic, then end up with streaks on matte paint, residue around decals, or a slick surface that attracts dust on the first ride. The good news is you can dodge most of that by matching the product type to your paint and your riding conditions.
This guide breaks down what matters in 2026, how to self-check your bike’s finish, and which polish type to reach for. I’ll also share a simple process that looks professional without turning into an all-day detailing project.
What “shine” means on a bike (and why products differ)
Shine is not one thing. On bikes, it usually refers to gloss clarity (mirror-like reflections), surface slickness (how easily dirt releases), and visual depth (that richer, wetter look). Different products chase different goals.
In practice, most polishes fall into a few buckets, and each behaves differently on paint, decals, clear coat, anodized metal, and raw carbon finishes.
- Spray detailers: fast gloss boost, light protection, best for frequent wipe-downs.
- Traditional polish/cleaner polish: removes light oxidation or haze, may contain mild abrasives, great when paint looks tired.
- Waxes and sealants: longer-lasting protection layer, often deeper shine, usually more effort.
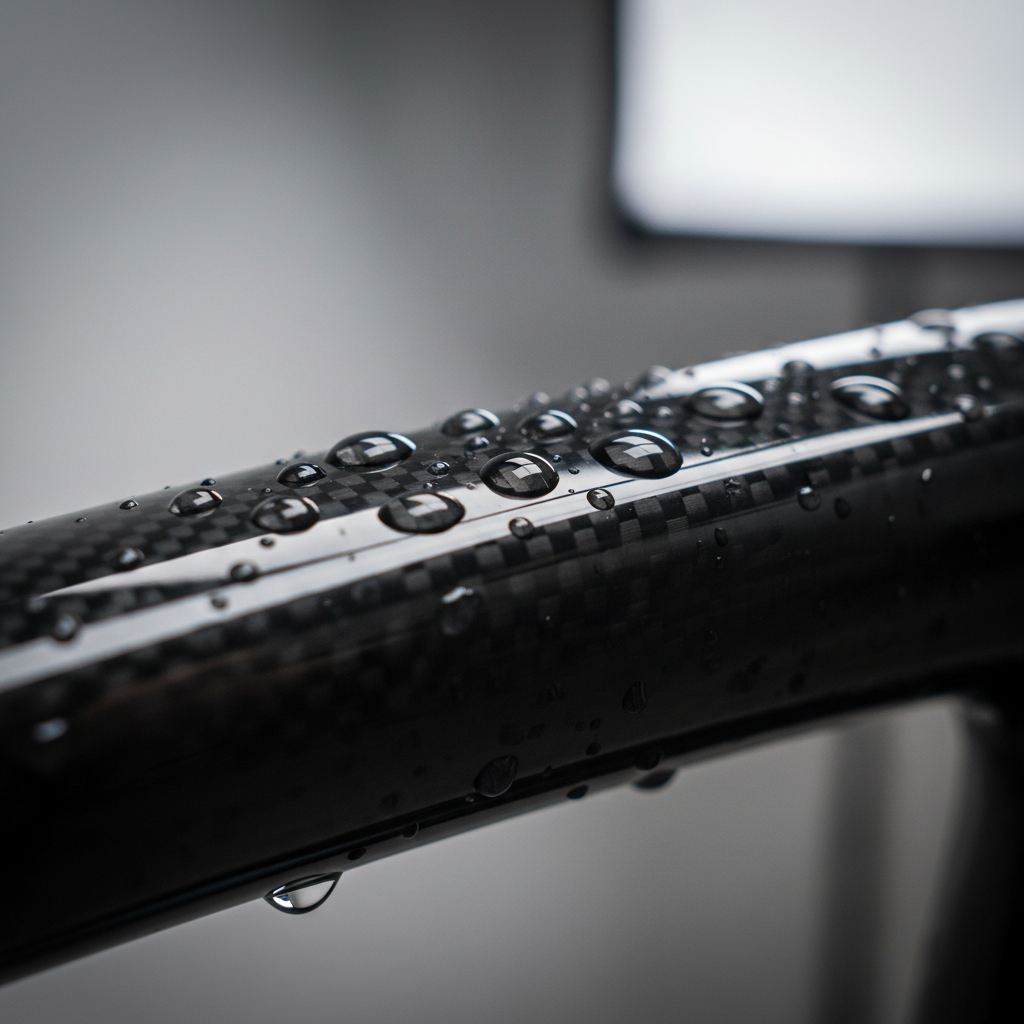
- Ceramic spray coatings: “sealant-like” durability with easier application, strong water beading.
- Matte-specific protectants: maintain an even matte look, avoid glossing patches.
According to Park Tool... keeping bike finishes looking good starts with cleaning correctly and using products appropriate for the surface, since harsh cleaners and wrong abrasives can cause cosmetic damage.
Quick self-check: pick the right polish type in 60 seconds
If you only do one thing before buying, do this quick check. It prevents the most common “why did my frame look worse?” moment.
1) Identify your finish
- Gloss paint / clear coat: most polishes and sealants are compatible, but avoid aggressive compounds unless you know why you need them.
- Matte / satin paint: avoid gloss waxes and abrasive polishes, use matte-safe sprays.
- Raw carbon (no clear coat or very thin finish): treat gently, use non-abrasive protection.
- Anodized aluminum parts: use mild, non-abrasive products; avoid strong solvents around dyed anodizing.
2) Look for these “you need more than a spray” signs
- Paint looks chalky or dull even after washing and drying
- You see fine haze under bright light
- Water no longer beads at all after a fresh clean
3) Decide your real priority
- Fast shine before a ride: spray detailer
- Longer protection in mixed weather: sealant or ceramic spray
- Correcting minor dullness: cleaner polish (very mild), then protect
That’s the logic most people miss. The best bike polish for shine for your friend’s glossy road bike may be a bad pick for your matte gravel rig.
Best bike polish for shine in 2026: how to choose (without brand hype)
Rather than pretending there is one universal winner, here’s a practical selection framework you can use on any shopping page. If you prefer specific brands, match them to these categories and specs.
| Bike finish / situation | Recommended product type | Why it works | Watch-outs |
|---|---|---|---|
| Gloss frame, already clean, wants quick pop | Spray detailer | Boosts gloss fast, minimal effort | Can streak if over-applied; avoid on brakes/rotors |
| Gloss frame, rides in rain/dust, wants protection | Synthetic sealant or ceramic spray | Better durability, easier cleaning | Needs proper prep; residue in crevices if sloppy |
| Paint looks dull or lightly oxidized | Mild cleaner polish + sealant | Restores clarity, then locks it in | Abrasives can thin clear coat over time |
| Matte or satin frame | Matte-safe protectant | Keeps finish even, reduces fingerprints | Gloss products can create shiny patches |
| Decal-heavy frame, lots of edges | Spray sealant applied to cloth | Controls overspray, cleaner edges | Don’t flood decal edges with product |
If “shine” is your main goal, the best results usually come from pairing: clean → decontaminate lightly → protect. Most of the gloss comes from prep, not from a miracle bottle.
A simple polishing routine that actually looks good
This is the routine I’d recommend for most riders who want a reliable shine without turning bike care into a hobby. If your bike has unusual finishes or you’re unsure, test a small hidden spot first.
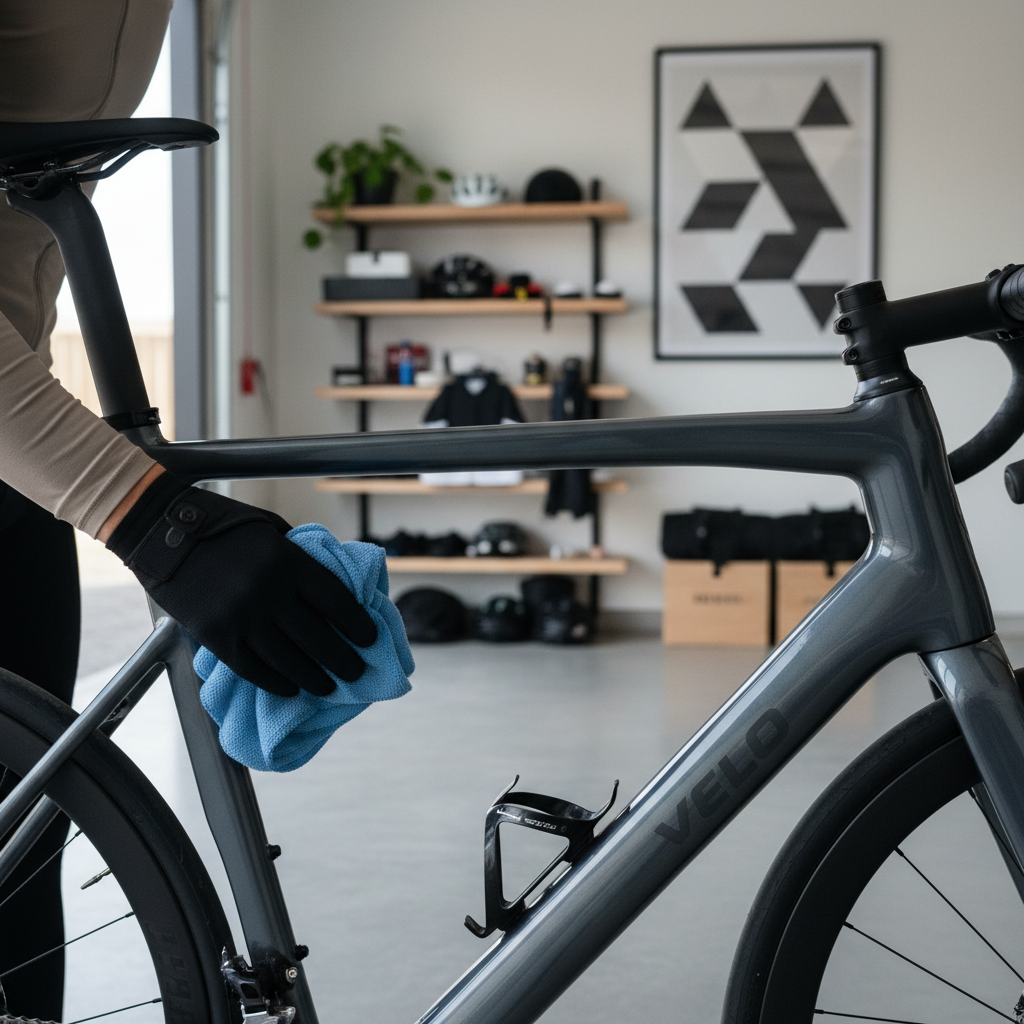
Step 1: Wash correctly (this is where shine starts)
- Rinse loose grit off first, don’t grind it into the paint.
- Use a bike-safe wash and a soft mitt or sponge.
- Dry fully with a clean microfiber towel, especially around bolts and cable stops.
Step 2: Remove what washing leaves behind
- If you feel roughness when you lightly glide your fingertips over the paint, you likely have bonded grime.
- Use a paint-safe decontamination step (often a clay alternative or very gentle clay with plenty of lubricant), but keep it conservative.
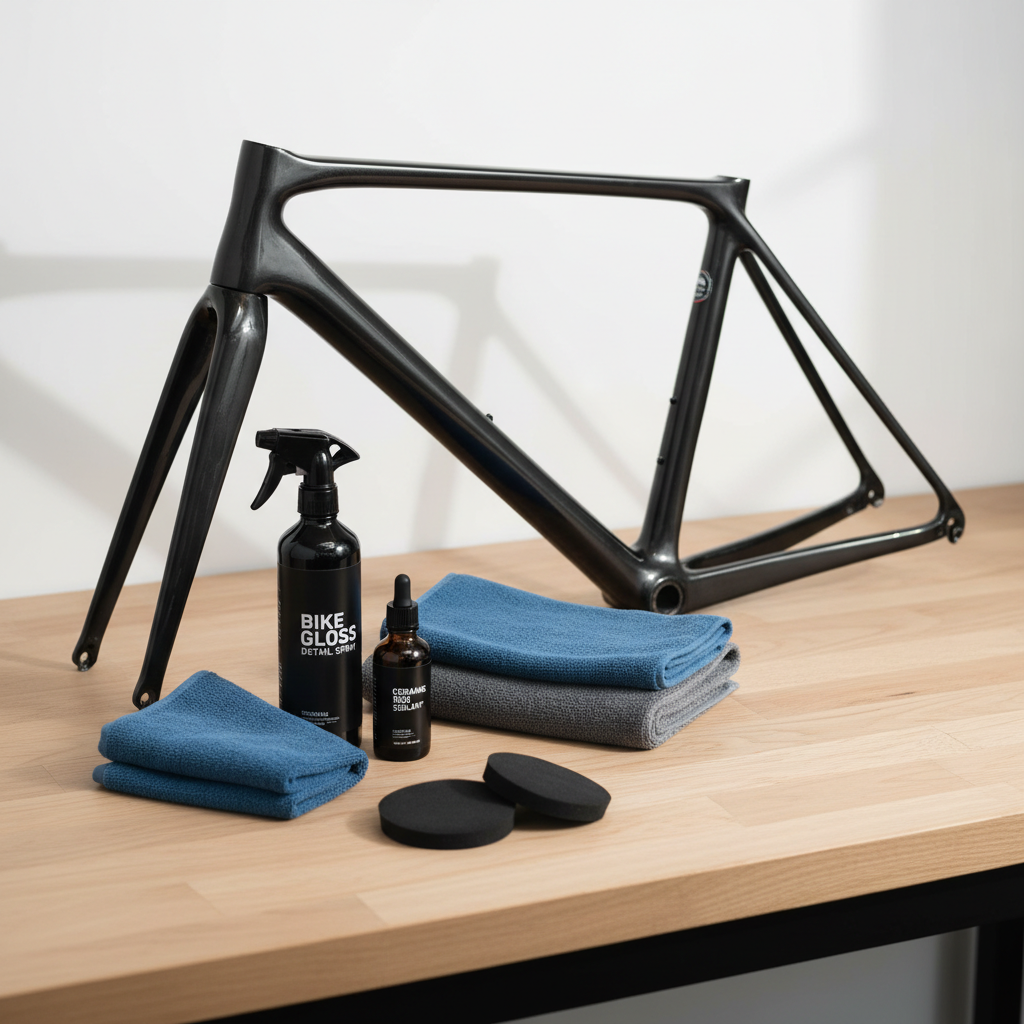
Step 3: Choose one “shine layer”
- Spray detailer: mist onto cloth, wipe, then buff with a second cloth.
- Sealant/ceramic spray: apply thin, wait per label, then buff. Thin application matters more than muscle.
- Mild polish: use a foam applicator, light pressure, small sections, then protect with a sealant.
Key point: if you apply a lot, you’ll buff a lot, and that’s when streaks happen. Thin layers win.
Safety and “don’t regret it later” mistakes to avoid
Bike polishing feels low-risk, but there are a few spots where a small mistake turns into noise, lost braking, or cosmetic damage. Keep it boring, you’ll be happier.
- Keep product off braking surfaces: rotors, pads, rim brake tracks. If contamination happens, you may need to clean with isopropyl alcohol and possibly replace pads, a shop can advise.
- Avoid heavy abrasives: cutting compounds can remove clear coat; on bikes, clear layers are often thin compared to cars.
- Don’t polish grit: if the bike is dusty, wipe-down polishing can create micro-scratches.
- Watch bearings and pivots: overspray around suspension pivots, hubs, and bottom brackets can attract grime.
- Matte finishes hate “gloss enhancers”: you might not notice until sunlight shows uneven sheen.
According to Shimano... disc brake rotors and pads need to stay free from oil and grease, because contamination can reduce braking performance and may require service.
Real-world scenarios: what I’d use, based on how you ride
If you’re shopping for the best bike polish for shine, it helps to anchor on your weekly reality, not the “perfect garage setup” version of you.
Commuter bike (city grime, frequent touch-ups)
- Pick: spray detailer or spray sealant
- Why: quick wipe-down after a wet ride makes the next wash easier
- Tip: apply to cloth first, so you avoid overspray near brakes
Road bike (gloss paint, wants that crisp reflection)
- Pick: sealant or ceramic spray every few weeks, detailer between
- Why: protection layer keeps the shine consistent, not just “right after you polish”
Gravel/MTB (dust, mud, more abrasion)
- Pick: durable sealant and focus on cleaning technique
- Why: the shine is nice, but your bigger win is faster cleanup and fewer stains
- Tip: don’t chase mirror gloss on a bike that lives in grit, you’ll just over-work the finish
When you should stop DIY and ask a pro
Most shine work is DIY-friendly. The line you don’t want to cross is “I’m correcting defects and don’t know how much material I’m removing.” Bikes are not cars, and you often have less margin.
- Deep scratches that catch a fingernail, especially near carbon edges or welds
- Cloudy clear coat that does not improve after a mild cleaner polish
- Paint chips exposing carbon or metal, where sealing matters
- Any time polish contamination reaches brakes and performance changes, a bike shop can inspect and advise
If you’re dealing with carbon damage concerns or structural questions, polishing is not the right tool, and it’s usually smarter to consult a qualified bike shop or manufacturer guidance.
Conclusion: the easiest way to get a glossy bike that stays glossy
The most reliable shine comes from boring fundamentals: clean gently, pick a product type that matches your finish, and apply thin. For many riders, a good sealant or ceramic spray does more for long-term gloss than constantly switching polishes.
If you want a simple plan, choose one protection product you like, do a careful wash and dry, then maintain with a quick detail wipe. That approach tends to keep the best bike polish for shine feeling consistent, not like a one-time trick.
FAQ
What is the best bike polish for shine on a glossy frame?
For a glossy clear-coated frame, a spray sealant or ceramic spray typically gives a cleaner, longer-lasting shine than a basic detailer, with fewer streaks if you apply thin and buff well.
Can I use car polish on a bicycle?
Sometimes, but it depends. Many car products are fine on clear coat, yet some contain stronger abrasives or solvents than a bicycle finish needs, so patch-test first and avoid anything aggressive.
Will polish remove scratches on my bike?
Mild cleaner polishes can reduce light haze and micro-marring, but deeper scratches often remain. If you can feel it with a fingernail, it’s usually beyond a simple shine product.
What should I use on a matte or satin bike frame?
Use a matte-specific protectant. Gloss enhancers and waxes can create uneven shiny spots that are hard to reverse without refinishing.
How often should I polish my bike for shine?
If you mean “apply a protection layer,” many riders refresh every few weeks to a couple months, depending on weather and washing frequency. If you mean abrasive polishing, keep it rare and only when needed.
Why does my bike look streaky after polishing?
Most streaks come from using too much product, applying in direct sun, or buffing with a saturated towel. Switch to a clean dry microfiber for the final buff and reduce the amount you apply.
Is it safe to polish near disc brakes?
It’s safe if you control overspray and keep product off rotors and pads. If you suspect contamination because braking feels noisy or weak, stop riding hard and ask a shop for guidance.
If you’re trying to narrow down options quickly, pick your frame finish first, then decide whether you want quick shine or longer protection. If you need a more “set it and forget it” approach, a reputable spray sealant matched to your finish is often the most practical middle ground.