
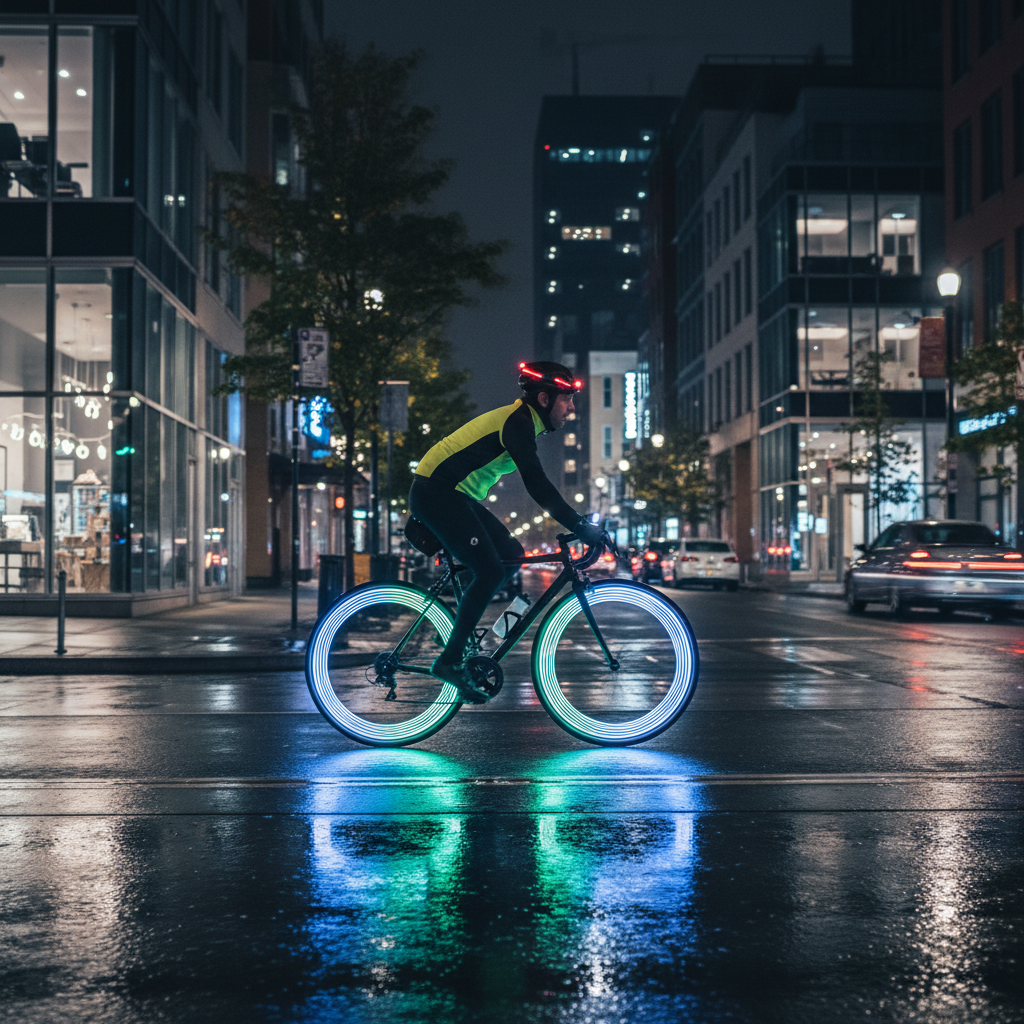
Best bike wheel lights for night riding come down to one thing: being seen from the side, not just from the front and rear. If you ride near intersections, driveways, or multi-use paths, wheel lights can add the kind of “moving visibility” that a handlebar light alone often misses.
People usually shop wheel lights for style, then get disappointed by weak brightness, tricky installs, battery hassles, or lights that die in rain. The good news, most issues are avoidable if you pick the right type for your wheels and your riding pattern.
Below is a practical buying guide, a quick decision checklist, and setup tips that match real-world situations, commuting, casual rides, and longer night training. I’ll also point out common mistakes that waste money.
What to look for (brightness, side visibility, and durability)
Wheel lights sound simple, but the “best” option depends on where you need visibility: cross traffic, cars turning across bike lanes, or other cyclists on dark trails.
According to the National Highway Traffic Safety Administration (NHTSA), being visible to drivers is a key part of night safety, and visibility is not only about how bright a light is, but also whether it’s noticed in time.
- True side visibility: Rim-spoke systems and valve-cap LEDs are flashy, but they vary a lot in how visible they look from 100–300 feet away.
- Brightness that matches your roads: Busy streets and lots of ambient light usually demand higher-output LEDs and clearer patterns.
- Weather resistance: Look for “water resistant” at minimum, and avoid exposed battery doors that can pop open on rough pavement.
- Secure mounting: If it can slide on spokes, it will, especially after potholes.
- Modes you’ll actually use: Steady for consistent visibility, and a tasteful flash pattern for attention, without looking chaotic.
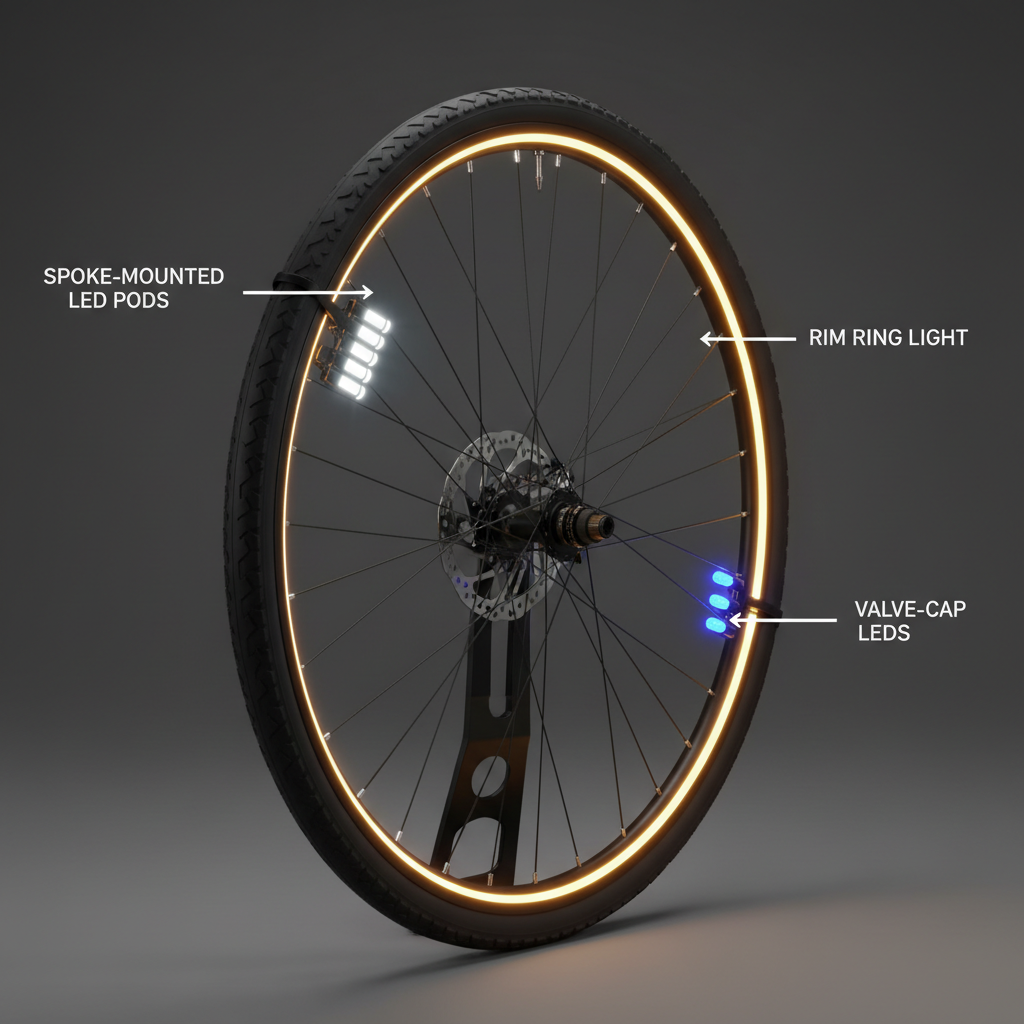
Wheel light types compared (and who each type fits)
Most products fall into a few categories. Knowing the tradeoffs is the fastest way to find the best bike wheel lights for night riding without buying twice.
| Type | Best for | Pros | Watch-outs |
|---|---|---|---|
| Spoke-mounted “pods” | Commuting, casual rides | Affordable, easy to replace, decent side pop | Can shift on spokes, small batteries, mixed water resistance |
| Rim/wheel ring lights | Maximum side visibility | Creates a strong circle effect, very noticeable | Install time, fit compatibility, higher cost |
| Valve-cap LEDs | Style + “always on” reminders | Quick install, light weight | Often low visibility from distance, can loosen, battery access is tiny |
| Reflective spoke covers (non-powered) | Low-maintenance backup | No batteries, works with headlights, cheap | Depends on external light, not the same as active LEDs |
If you mainly want to be noticed at intersections, rim or multi-spoke systems typically deliver the most “I can’t miss you” side profile. If you want something quick for short trips, spoke pods can be the sweet spot.
A quick self-check: which “best” category are you in?
Before shopping, answer these honestly. It saves you from buying a beautiful set that you stop using after one rainy ride.
- How often do you ride at night? A few times a month vs. daily commuting changes how much battery convenience matters.
- Where do cars cross your path? Lots of intersections and driveways means you need strong side visibility.
- Do you ride in rain or winter? Then mounting security and sealing matter as much as brightness.
- How much patience do you have for setup? Some “best” sets take real fiddling to align and keep balanced.
- Do you also run front/rear lights? Wheel lights are additive, not a replacement for a strong headlight and a rear red light.
Key point: if your goal is safety, prioritize a clear, consistent pattern over the most colorful one.
Choosing the best bike wheel lights for night riding by scenario
This is where selection becomes straightforward: match the product style to how you actually ride.
Urban commuting (traffic, intersections, streetlights)
- Pick: brighter spoke pods or rim systems with steady + attention flash modes
- Why: ambient light can wash out weaker LEDs, so you want a pattern that still reads clearly
- Nice to have: quick battery swaps or USB recharge, because you’ll use them often
Suburban roads (fewer lights, faster cars)
- Pick: rim/wheel ring lights or multi-spoke setups for a strong moving circle effect
- Why: drivers approach faster, so earlier recognition helps
- Pair with: a real headlight for seeing the road surface, wheel lights won’t help you spot potholes
Bike paths and group rides (shared space)
- Pick: steady or low-glare modes, avoid overly aggressive strobe patterns
- Why: some flash patterns can be distracting up close, especially in groups
- Tip: reflective spoke covers can be a quiet, no-fuss add-on
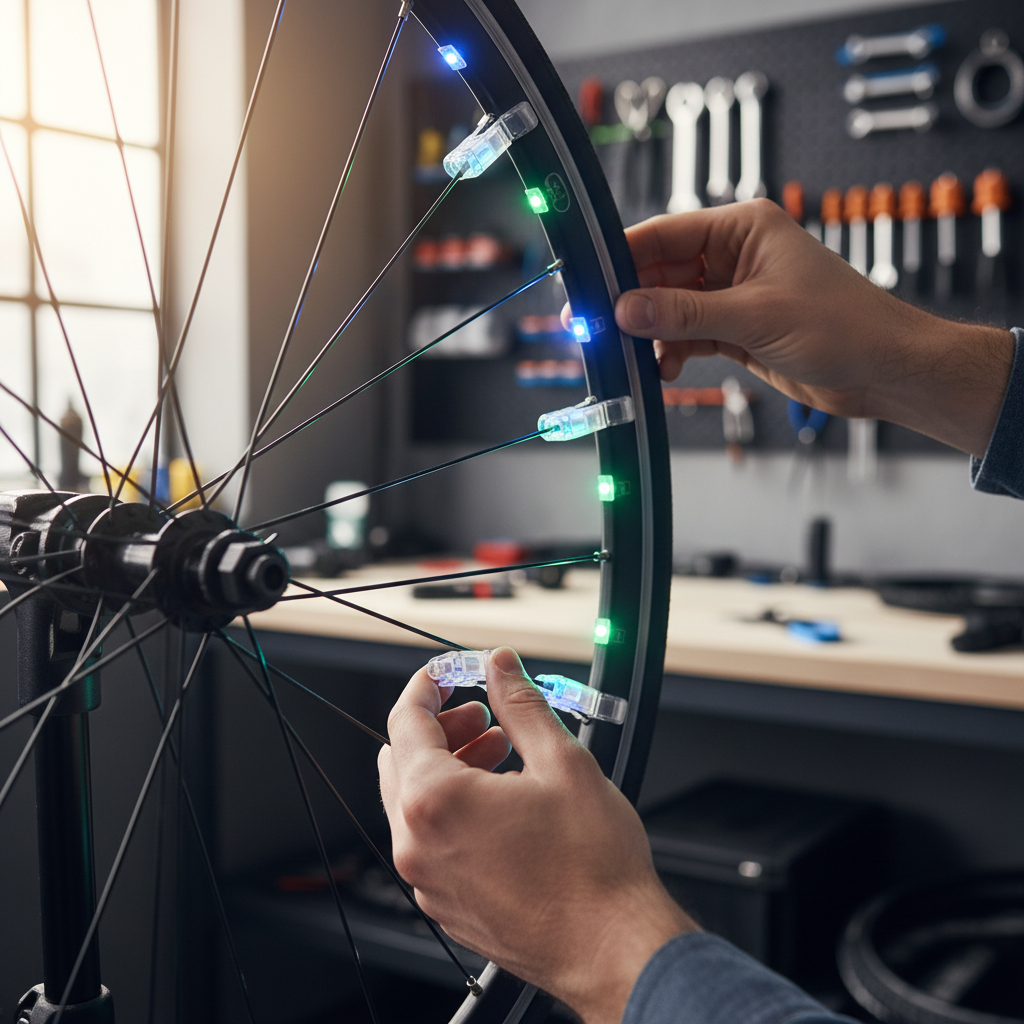
Setup that actually holds: installation and positioning tips
Even the best bike wheel lights for night riding look bad if they wobble, drift, or collide with spokes. A few small choices fix most of that.
- Clean the contact area: wipe spokes/rim sections so mounts grip better, especially if there’s chain lube mist or road grime.
- Balance matters: if the kit is heavier, place units evenly around the wheel to reduce vibration.
- Avoid brake interference: check clearance for rim brakes, and confirm nothing rubs at full wheel flex.
- Use the “shake test”: after mounting, spin the wheel and tap the tire sidewall, if anything shifts, it will shift on the road too.
- Angle for side visibility: aim LEDs outward, not toward the hub, it sounds obvious, but misalignment is common.
If you keep losing lights on rough roads, it’s usually mounting tension or placing too much weight on one spoke section. Spreading the load often fixes it.
Mistakes that make wheel lights disappointing (and how to avoid them)
Most complaints online are predictable. Not because riders are picky, but because expectations don’t match what wheel lights can realistically do.
- Using wheel lights as your only lighting: you still need front and rear lights for “see and be seen.”
- Choosing the wildest strobe: attention is good, but some patterns reduce recognition of speed and distance.
- Ignoring battery workflow: tiny coin cells can be fine, until you’re replacing them every week.
- Overlooking theft risk: quick-release designs are convenient for you and for someone walking by.
- Assuming “water resistant” means storm-proof: puddles, pressure washing, and heavy rain can be different levels of stress.
According to the U.S. Consumer Product Safety Commission (CPSC), proper bike equipment and maintenance support safer riding. For wheel lights, “maintenance” often just means checking mounts and power before you roll out.
When to get expert help (or rethink your lighting plan)
If you ride in high-speed traffic corridors, have a history of close calls at intersections, or you’re unsure about local requirements, it can be smart to ask a bike shop to sanity-check your setup. They can also spot clearance issues with brakes, fenders, and spoke tension that cause repeated failures.
And if you have any vision limitations at night, or you feel uncomfortable judging hazards in low light, consider speaking with a medical professional, then adjust your riding time or routes. Safety calls are personal, and there’s no shame in making the conservative choice.
Practical conclusion: what to buy, in plain terms
The best bike wheel lights for night riding are the ones you’ll keep using, because they stay attached, stay bright enough for your streets, and don’t turn battery changes into a hobby. Most riders do well with secure spoke-mounted lights for daily practicality, while riders prioritizing maximum side visibility often prefer rim-style systems.
- If you commute often: prioritize durability, easy charging, and a clean steady mode.
- If intersections worry you: aim for a strong circle effect or multiple points around the wheel.
Pick one setup, install it carefully, then do a 2-minute pre-ride check for mount tightness and power. That tiny habit pays back fast.